> ## Documentation Index
> Fetch the complete documentation index at: https://learn.nexudus.com/llms.txt
> Use this file to discover all available pages before exploring further.
# ACT365
> Connect ACT365 cloud access control to Nexudus, so customers open doors with their cards based on their passes, bookings and contracts, and door unlocks check them in.
## Overview
**ACT365** (from Vanderbilt) is cloud-based access control. The integration adds your customers to ACT365 as cardholders and puts them in the right **cardholder groups** based on what they have in Nexudus. You decide which doors each group opens in ACT365; Nexudus decides who's in each group.
The integration costs **£50 a month per location** (shown in your currency), on top of what ACT365 charges. You need an ACT365 account with your doors installed — contact Vanderbilt to set one up.
## How access works
| Customers get access through | When |
| - | - |
| **Passes** | While the pass is active — including passes included in their plan, passes shared by their team, and the pass they're checked in with. |
| **Resource bookings** | From about 15 minutes before the booking starts until it ends. Customers added as guests to the booking get the same access. |
| **Desks and offices** | While the desk or office is on one of their active contracts. If a team's paying member holds the contract, the whole team gets access. |
## Before you start
Create your cardholder groups in ACT365 — they can only be created and edited there. Each group should include every door a customer needs — for a meeting room, that's the room door, the floor door and the main entrance.
## Setting up ACT365
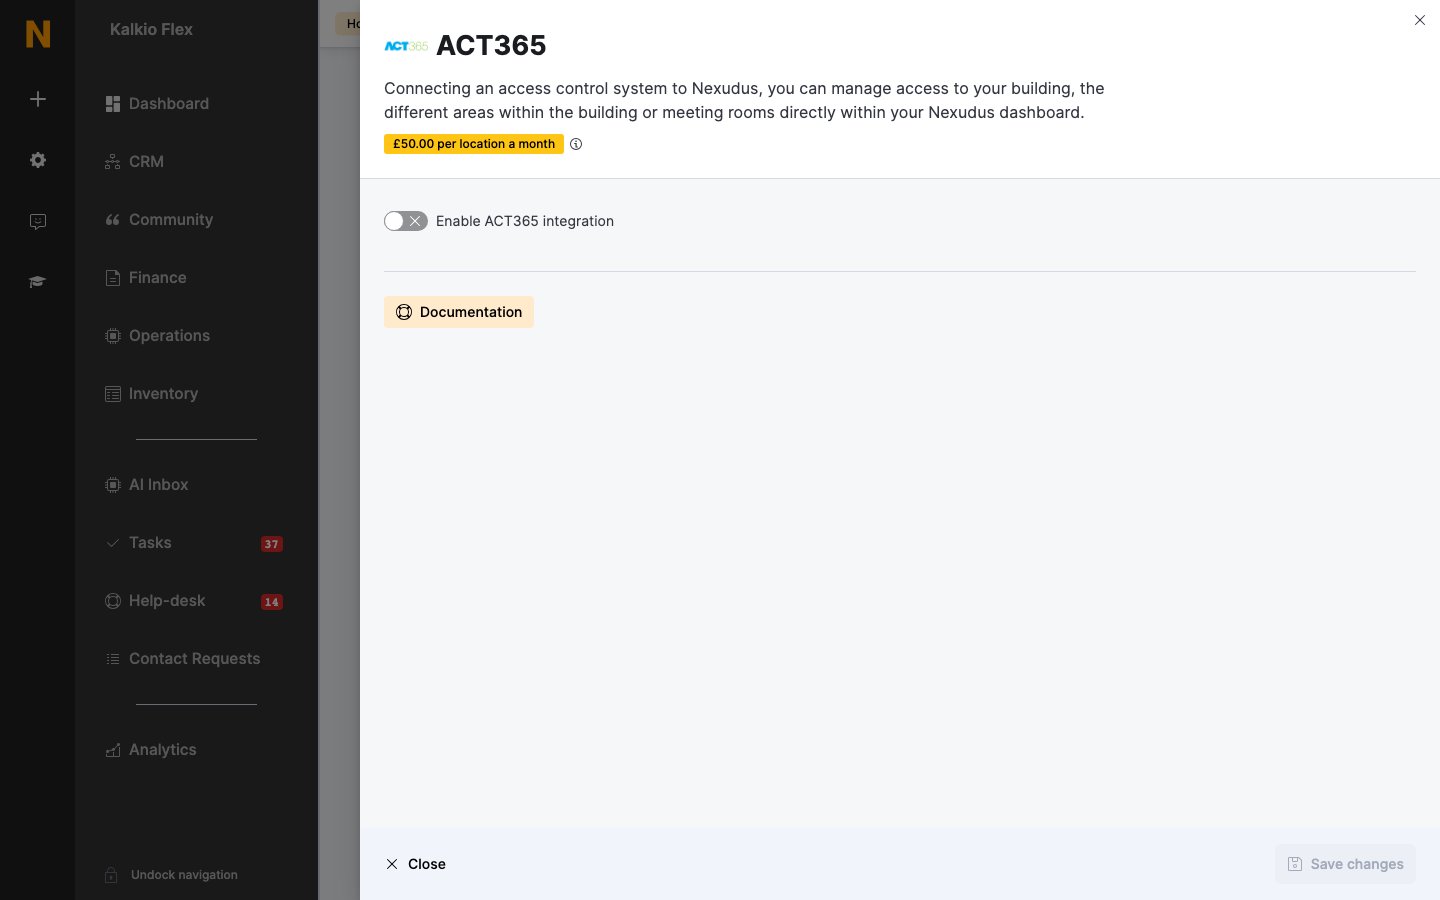
Go to **Settings → Integrations → ACT365**, turn on **Enable ACT365 integration**, enter your ACT365 **Username** and **Password**, and save.
Choose the **Act365 site** for this location.
Choose an **Act365 access group** for each of your **Resources**, **Passes** and **Desks / Offices**. Leave an item blank if it shouldn't open any doors.
Under **Presence tracking**, set each lock's **Action**: **Check customer in**, **Check customer out**, **Toggle customer check-in status**, or **Do nothing**. Save.
 ## Giving customers cards
Open the customer, go to **Account → Access rights**, and enter each card number in **Access cards**, pressing Enter after each one. Changes are sent to ACT365 automatically — for example, when you replace a lost card.
* ACT365 only accepts numeric card numbers, and up to four cards per customer.
* A customer's ACT365 cardholder is only enabled once they have at least one card in **Access cards**.
Customers can also open ACT365 doors from the [white-label Passport app](/passport/white-label-setup), or with an [automation tile](/platform/settings/automation-tiles) — set to **Unlock Act365 door** for a single door, or **Show Access Control pop-up** to list the doors they can open.
## Related
* [Access control](/integrations/access-control/overview) — how access control works in Nexudus
* [Check-ins](/platform/operations/check-ins) — tracking who's in your space
This documentation is built and hosted on [Mintlify](https://mintlify.com), a developer documentation platform.
## Giving customers cards
Open the customer, go to **Account → Access rights**, and enter each card number in **Access cards**, pressing Enter after each one. Changes are sent to ACT365 automatically — for example, when you replace a lost card.
* ACT365 only accepts numeric card numbers, and up to four cards per customer.
* A customer's ACT365 cardholder is only enabled once they have at least one card in **Access cards**.
Customers can also open ACT365 doors from the [white-label Passport app](/passport/white-label-setup), or with an [automation tile](/platform/settings/automation-tiles) — set to **Unlock Act365 door** for a single door, or **Show Access Control pop-up** to list the doors they can open.
## Related
* [Access control](/integrations/access-control/overview) — how access control works in Nexudus
* [Check-ins](/platform/operations/check-ins) — tracking who's in your space
This documentation is built and hosted on [Mintlify](https://mintlify.com), a developer documentation platform.