> ## Documentation Index
> Fetch the complete documentation index at: https://learn.nexudus.com/llms.txt
> Use this file to discover all available pages before exploring further.
# Genetec
> Connect Genetec Security Center to Nexudus, so customers open doors with their card or PIN based on their passes, bookings and contracts.
## Overview
**Genetec Security Center** is access control that runs on a server at your location. The integration adds your customers to Security Center as cardholders and puts them in the right **cardholder groups** based on what they have in Nexudus. You decide which doors each group opens in Security Center; Nexudus decides who's in each group. Customers open doors with their card or PIN.
The integration costs **£50 a month per location** (shown in your currency), on top of what Genetec charges.
## How access works
| Customers get access through | When |
| - | - |
| **Passes** | While the pass is active — including passes included in their plan, passes shared by their team, and the pass they're checked in with. |
| **Resource bookings** | From about 15 minutes before the booking starts until it ends. Customers added as guests to the booking get the same access. |
| **Desks and offices** | While the desk or office is on one of their active contracts. If a team's paying member holds the contract, the whole team gets access. |
Nexudus sends each customer's PIN and the cards in their **Access cards** field (in **Account → Access rights**) to Security Center.
## Before you start
Nexudus connects to Security Center through its **Web-based SDK** role, so it must be reachable from the internet.
In the Security Center Config Tool, go to **Tasks → System → Roles**. If **Web-based SDK** isn't listed, select **Add an entity → Web-based SDK** and follow the steps. In the role's **Properties**, check the port number and turn on **Use SSL connection**. Select **Apply**.
Either open the Web SDK port on your firewall, or install the [Nexudus Network Bridge](/integrations/network-bridge) on your local network so you don't need to open any ports. Nexudus can't configure your network for you.
Create a Security Center user for Nexudus in **User Management**, and create your cardholder groups. Each group should include every door a customer needs, such as the building entrance as well as the room.
## Setting up Genetec
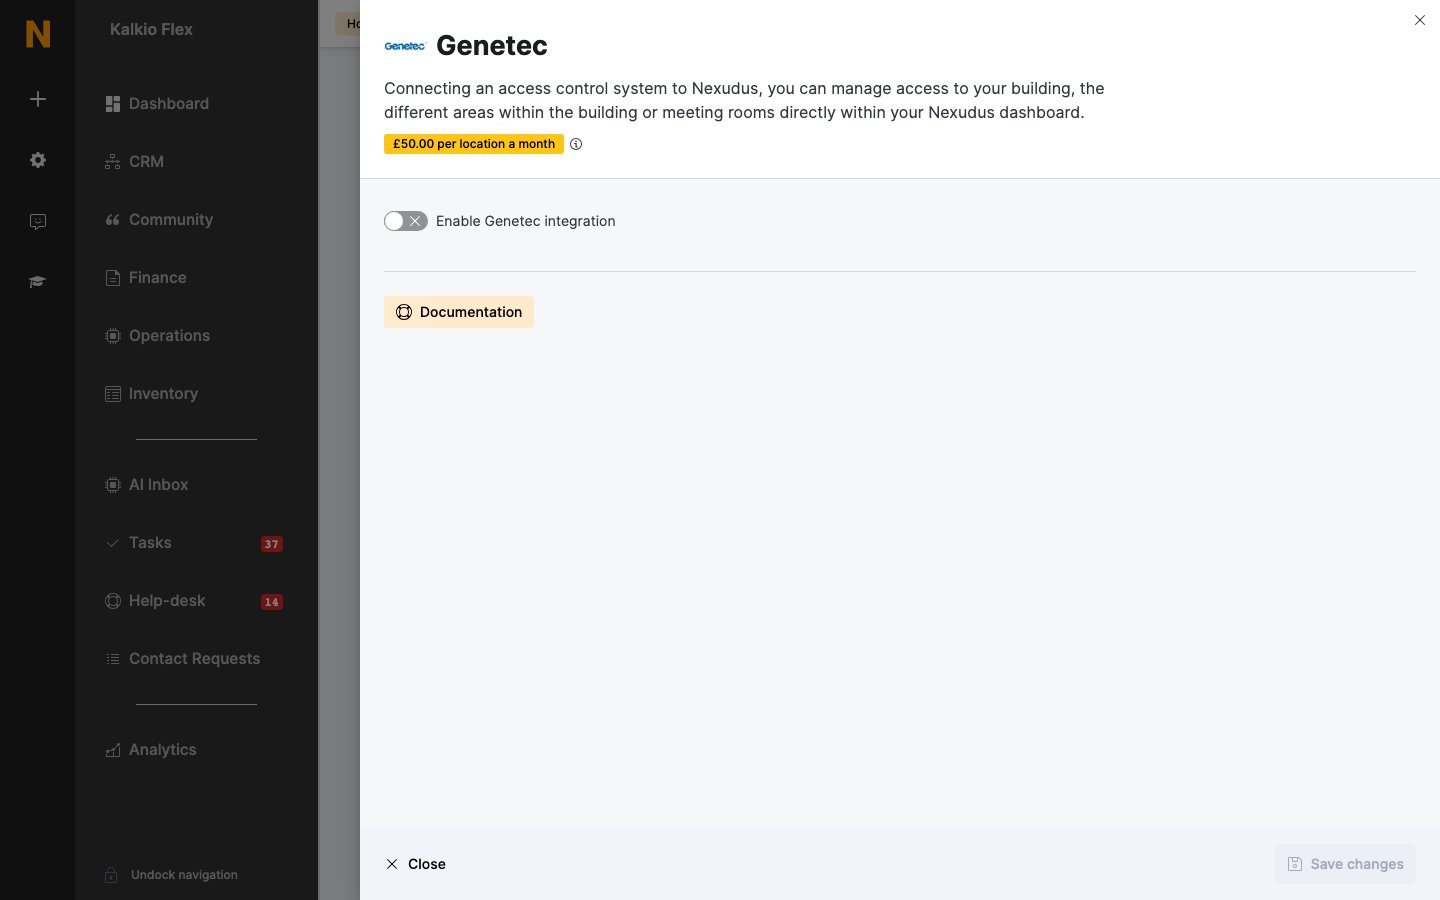
1. Go to **Settings → Integrations → Genetec** and turn on **Enable Genetec integration**.
2. Enter the **Genetec server address** — your server's public address and Web SDK port, for example `https://yourserver.com:4590/WebSdk/`. If you use the Network Bridge, enter `https://bridge.nexudus.com/{DEVICE_ID}/WebSdk/`, replacing `{DEVICE_ID}` with your bridge's device ID.
3. Enter the **Genetec username** and **Genetec password**.
4. If your Security Center uses partitions, enter the **Default partition** new cardholders are created in.
5. Save. Then choose a **Genetec access group** for each of your **Resources**, **Passes** and **Desks / Offices**, leaving blank any that shouldn't open doors, and save again.
 Genetec doesn't check customers in from door events. Use another [check-in method](/platform/access-control/check-in-methods) if you track occupancy.
## Related
* [Access control](/integrations/access-control/overview) — how access control works in Nexudus
* [Network Bridge](/integrations/network-bridge) — connecting systems on your local network
This documentation is built and hosted on [Mintlify](https://mintlify.com), a developer documentation platform.
Genetec doesn't check customers in from door events. Use another [check-in method](/platform/access-control/check-in-methods) if you track occupancy.
## Related
* [Access control](/integrations/access-control/overview) — how access control works in Nexudus
* [Network Bridge](/integrations/network-bridge) — connecting systems on your local network
This documentation is built and hosted on [Mintlify](https://mintlify.com), a developer documentation platform.