> ## Documentation Index
> Fetch the complete documentation index at: https://learn.nexudus.com/llms.txt
> Use this file to discover all available pages before exploring further.
# Paxton Net2
> Connect Paxton Net2 to Nexudus, so customers open doors with their cards and fobs based on their passes, bookings and contracts.
## Overview
**Paxton Net2** is access control that runs on a server at your location. The integration adds your customers to Net2 as users, gives them their cards, and grants them the right doors based on what they have in Nexudus. Customers open doors with Paxton cards and fobs.
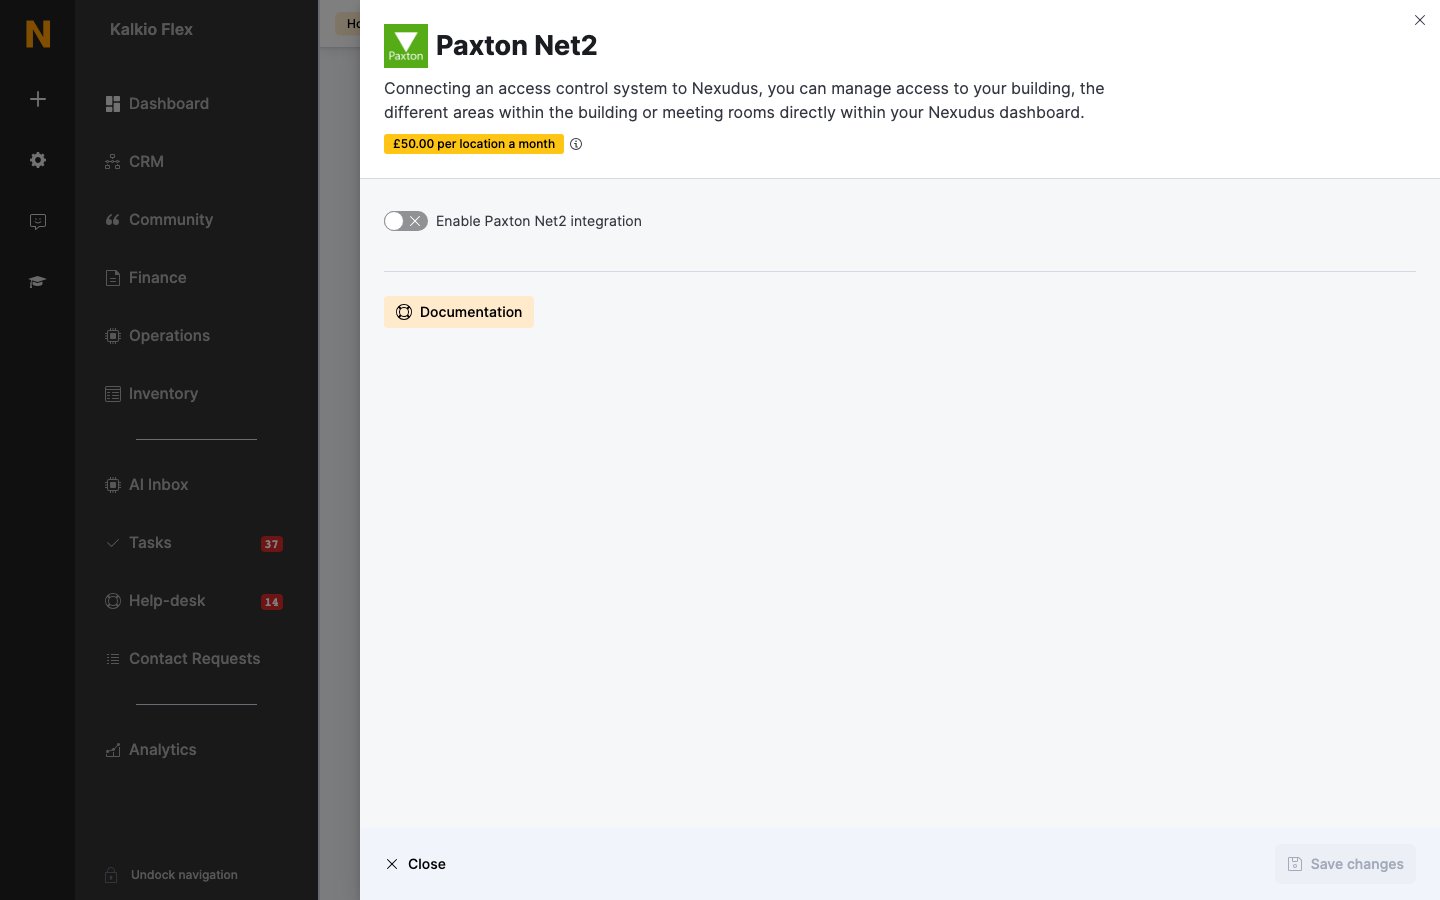
The integration costs **£50 a month per location** (shown in your currency), on top of what Paxton charges.
## How access works
| Customers get access through | When |
| - | - |
| **Passes** | While the pass is active — including passes included in their plan, passes shared by their team, and the pass they're checked in with. |
| **Resource bookings** | From about 15 minutes before the booking starts until it ends. Customers added as guests to the booking get the same access. |
| **Desks and offices** | While the desk or office is on one of their active contracts. If a team's paying member holds the contract, the whole team gets access. |
You can link each item to Net2 **doors**, to Net2 **access levels**, or both. Doors are granted to the customer individually; access levels are given to the Net2 user exactly as they're defined in Net2.
## Before you start
* Get your Net2 **username**, **password** and **Client ID** — your Paxton installer can help. The Client ID is the name of your Net2 licence file; restart the Net2 service after installing the licence.
* Make your Net2 server reachable from the internet: open and forward port **8443** on your firewall to the Net2 server.
## Setting up Paxton Net2
1. Go to **Settings → Integrations → Paxton Net2** and turn on **Enable Paxton Net2 integration**.
2. Enter the **Paxton Net2 username**, **Paxton Net2 password** and **Paxton Net2 Client ID**.
3. Enter the **Paxton Net2 Server IP** — usually `https://` followed by your public IP address and `:8443`.
4. If your cards aren't standard Net2 tokens, enter the **Token Type**. Leave it blank to use *Unspecified*.
5. Save. Then, for each of your **Resources**, **Passes** and **Desks / Offices**, choose the Net2 doors and **Net2 access level** it gives access to. Leave an item blank if it shouldn't open any doors. Save again.
 ## Giving customers cards
Customers' cards and fobs are managed in Nexudus, not Net2. Open the customer, go to **Account → Access rights**, and enter each card number in **Access cards**, pressing Enter after each one.
Nexudus keeps each Net2 user's cards in line with their **Access cards** field. Cards you add to a user directly in Net2 are removed the next time the customer is updated.
Customers are added to Net2 automatically as they get access. To send customers straight away — for example when you first connect — tick them in **Operations → Members & contacts** and choose **Update access control** from **Bulk actions**. It can take a few minutes for many customers.
Customers can also open Net2 doors from their phone with an [automation tile](/platform/settings/automation-tiles) set to **Show Access Control pop-up**, which lists the doors they can open.
Paxton Net2 doesn't check customers in from door events. Use another [check-in method](/platform/access-control/check-in-methods) if you track occupancy.
## Related
* [Access control](/integrations/access-control/overview) — how access control works in Nexudus
This documentation is built and hosted on [Mintlify](https://mintlify.com), a developer documentation platform.
## Giving customers cards
Customers' cards and fobs are managed in Nexudus, not Net2. Open the customer, go to **Account → Access rights**, and enter each card number in **Access cards**, pressing Enter after each one.
Nexudus keeps each Net2 user's cards in line with their **Access cards** field. Cards you add to a user directly in Net2 are removed the next time the customer is updated.
Customers are added to Net2 automatically as they get access. To send customers straight away — for example when you first connect — tick them in **Operations → Members & contacts** and choose **Update access control** from **Bulk actions**. It can take a few minutes for many customers.
Customers can also open Net2 doors from their phone with an [automation tile](/platform/settings/automation-tiles) set to **Show Access Control pop-up**, which lists the doors they can open.
Paxton Net2 doesn't check customers in from door events. Use another [check-in method](/platform/access-control/check-in-methods) if you track occupancy.
## Related
* [Access control](/integrations/access-control/overview) — how access control works in Nexudus
This documentation is built and hosted on [Mintlify](https://mintlify.com), a developer documentation platform.