> ## Documentation Index
> Fetch the complete documentation index at: https://learn.nexudus.com/llms.txt
> Use this file to discover all available pages before exploring further.
# E-invoicing
> Generate structured e-invoices for your Nexudus invoices and send them to customers and tax authorities, including Peppol and VERIFACTU in Spain.
## Overview
**E-invoicing** turns the invoices you issue in Nexudus into structured electronic invoices that tax authorities and your customers' systems can read, and sends them through the right network for your country — such as Peppol, or VERIFACTU in Spain. It runs through a third-party service called **Storecove**.
E-invoicing is included in your Nexudus subscription at no extra cost. It's currently in beta.
E-invoicing helps you meet your obligations, but using it doesn't guarantee compliance on its own. Check your country's rules with your accountant.
## Setting up e-invoicing
Set up e-invoicing in **each location** separately — you can reuse the same tax identifiers if several locations belong to the same legal entity.
In **Settings → Invoices and tax → Your details**, make sure your billing address is complete and correct. In Spain, also choose your **Province** — VERIFACTU submissions need it.
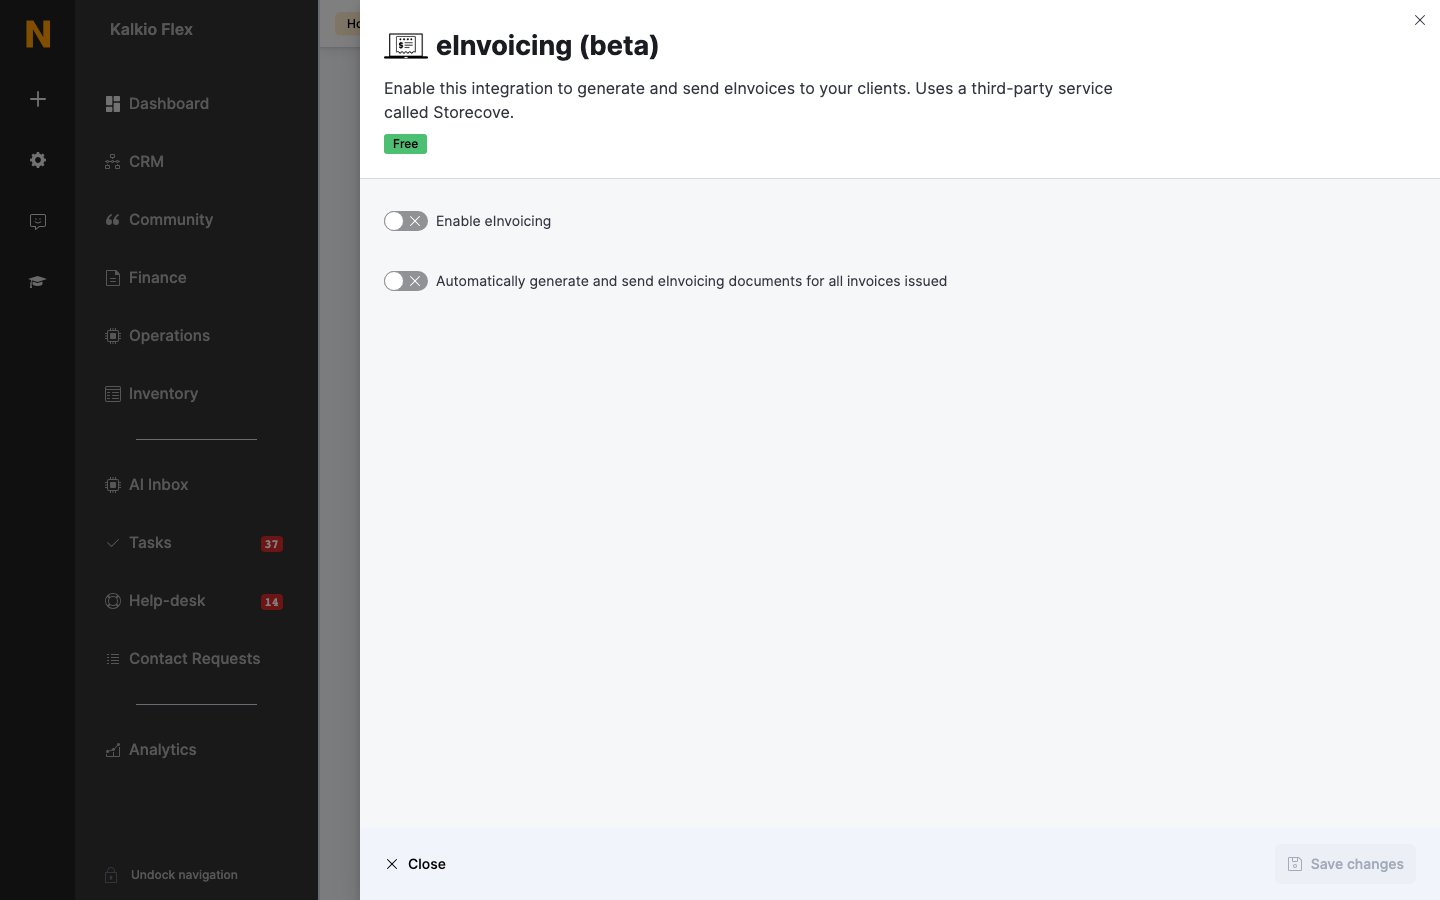
Go to **Settings → Integrations → eInvoicing (beta)** and turn on **Enable eInvoicing**.
Check the **Country** matches where your business is registered. Choose each **Identifier Type** your country requires, enter the **Identifier** without spaces or punctuation, and select **Add Identifier**. If several identifier types are listed — for example a legal and a tax identifier — add all of them, or submissions will fail.
Under **Payment methods**, add how you want to be paid — for example **SEPA credit transfer** or **Direct debit** — so they appear on your e-invoices. If you leave it empty, e-invoices show **Cash**. Payment methods are required in Germany.
Turn on **Automatically generate and send eInvoicing documents for all invoices issued** to create an e-invoice for every new invoice. Otherwise, generate them yourself (see below). Save.
 Your registered details then appear under **eInvoicing legal entity**. They can't be edited from this page — contact support if they need to change.
## Generating e-invoices
Invoices issued before you turned on e-invoicing — or while automatic sending was off — aren't sent until you generate their e-invoice. Generating an e-invoice never charges the customer again.
1. Go to **Finance → Invoices**, or a customer's **Invoices** tab.
2. Tick the invoices.
3. Choose **Generate eInvoicing document** from **Bulk actions**.
Invoices show **eInvoice processed** once sent, or **eInvoice transfer failed** or **eInvoice processing failed** if something went wrong. Check the reason under **Finance → Invoices → eInvoicing errors**.
## Customers' e-invoicing details
In many countries, customers — especially businesses — need their own identifiers on the e-invoices you send them. This is required when you send e-invoices through **Peppol** or **VERIFACTU**, or if customers shouldn't receive their e-invoice by email.
* **Customers can add their own** on the members portal, under their name → **Billing** → **Payment details** → **eInvoicing**: choose each **Identifier type**, enter the identifier, and select **Add identifier**. See [Billing information](/member-portal/profile/billing-information).
* **You can add them for a customer** on their **Account** tab, under **Contact and billing → eInvoicing information** — for example for a new customer who can't sign in yet. Choose the **Customer Type** (**Business**, **Consumer**, or **Governmental Entity**) and add their identifiers. The customer isn't told about changes you make, so confirm them with the customer.
## Related
* [Accounting](/integrations/accounting) — all accounting integrations
* [Invoice settings](/platform/finance/invoices/invoice-settings) — your billing details and invoice formatting
* [Moloni](/integrations/accounting/moloni) — SAF-T registration in Portugal
This documentation is built and hosted on [Mintlify](https://mintlify.com), a developer documentation platform.
Your registered details then appear under **eInvoicing legal entity**. They can't be edited from this page — contact support if they need to change.
## Generating e-invoices
Invoices issued before you turned on e-invoicing — or while automatic sending was off — aren't sent until you generate their e-invoice. Generating an e-invoice never charges the customer again.
1. Go to **Finance → Invoices**, or a customer's **Invoices** tab.
2. Tick the invoices.
3. Choose **Generate eInvoicing document** from **Bulk actions**.
Invoices show **eInvoice processed** once sent, or **eInvoice transfer failed** or **eInvoice processing failed** if something went wrong. Check the reason under **Finance → Invoices → eInvoicing errors**.
## Customers' e-invoicing details
In many countries, customers — especially businesses — need their own identifiers on the e-invoices you send them. This is required when you send e-invoices through **Peppol** or **VERIFACTU**, or if customers shouldn't receive their e-invoice by email.
* **Customers can add their own** on the members portal, under their name → **Billing** → **Payment details** → **eInvoicing**: choose each **Identifier type**, enter the identifier, and select **Add identifier**. See [Billing information](/member-portal/profile/billing-information).
* **You can add them for a customer** on their **Account** tab, under **Contact and billing → eInvoicing information** — for example for a new customer who can't sign in yet. Choose the **Customer Type** (**Business**, **Consumer**, or **Governmental Entity**) and add their identifiers. The customer isn't told about changes you make, so confirm them with the customer.
## Related
* [Accounting](/integrations/accounting) — all accounting integrations
* [Invoice settings](/platform/finance/invoices/invoice-settings) — your billing details and invoice formatting
* [Moloni](/integrations/accounting/moloni) — SAF-T registration in Portugal
This documentation is built and hosted on [Mintlify](https://mintlify.com), a developer documentation platform.