Connect from ChatGPT
ChatGPT supports custom MCP servers through Developer mode, currently in beta. You enable Developer mode once on your account, add the Nexudus MCP server as a custom connector, and then toggle it on in any chat where you want to use it.Prerequisites
- A ChatGPT account on a paid plan — Developer mode is available on Plus, Pro, Business, Enterprise, and Edu at the time of writing. Free accounts cannot add custom MCP connectors.
- A Nexudus account with API access.
- A web browser.
- For Business / Enterprise / Edu workspaces: your workspace admin must have enabled Developer mode / Create custom MCP connectors under Workspace Settings → Permissions & Roles → Connected Data. If the option is missing in your personal settings, ask your admin to turn it on.
Step 1 — Enable Developer mode
1
Open ChatGPT settings
Sign in to chatgpt.com, open your profile menu, and choose Settings.
2
Open the Apps & Connectors section
In the settings sidebar, open Apps & Connectors (sometimes shown as Connectors).
3
Open Advanced settings
Scroll to the bottom of the connectors list and open Advanced settings.
4
Turn on Developer mode
Toggle Developer mode on. ChatGPT shows a warning about the risks of connecting unverified MCP servers — read it and confirm.
Step 2 — Add the Nexudus connector
1
Create a new app
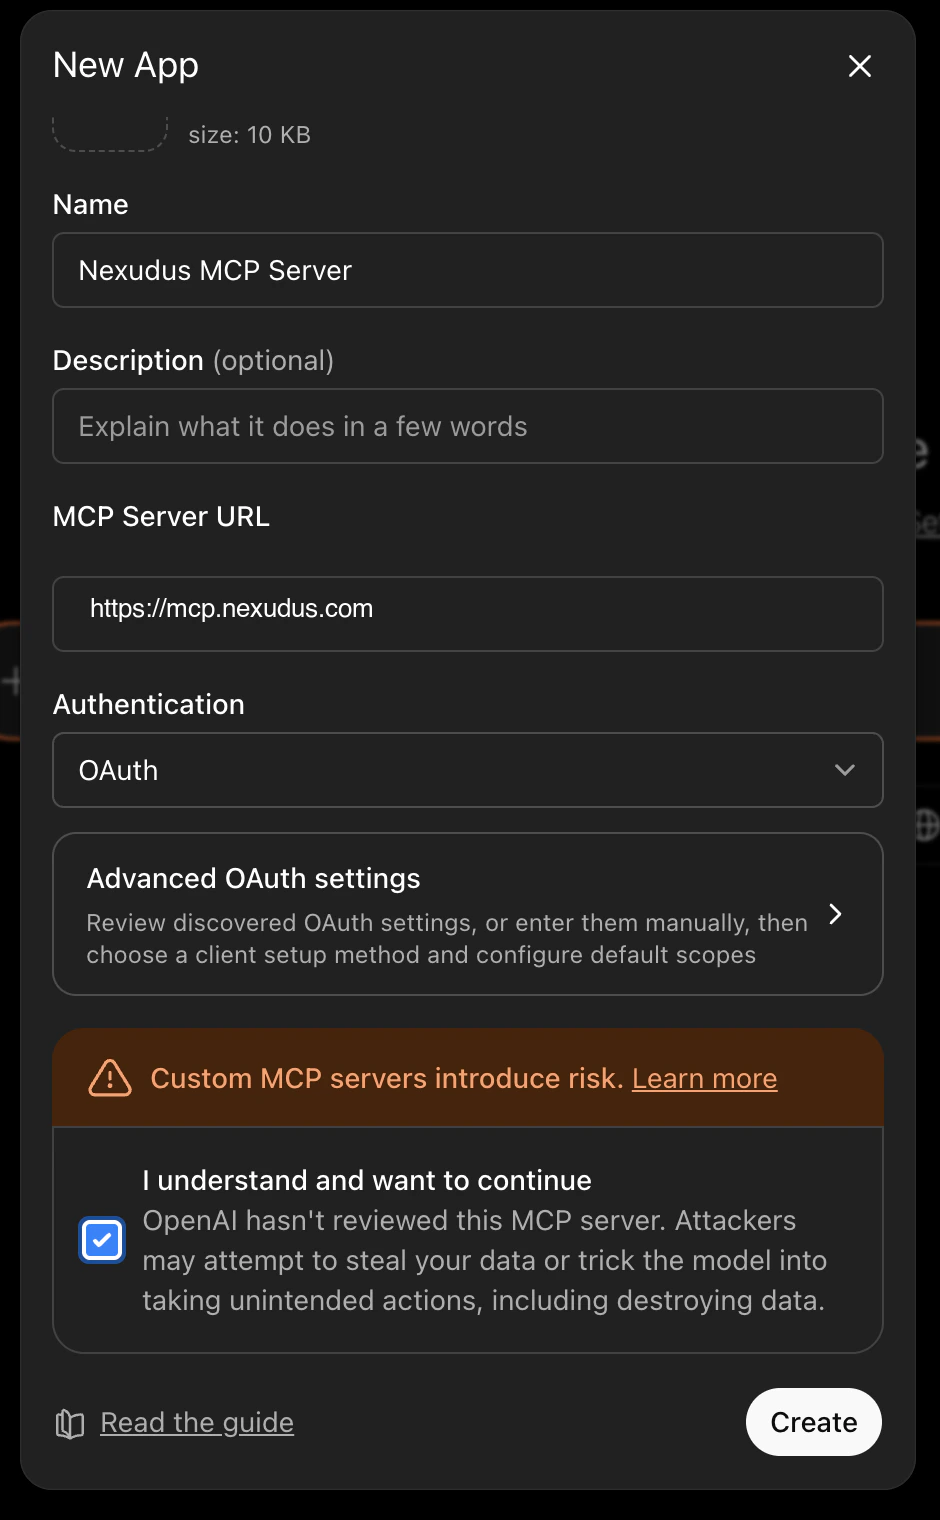
Back in Apps & Connectors → Advanced settings, click Create (sometimes labelled Create app) to add a custom MCP server.
2
Enter the Nexudus details
- Name:
Nexudus - MCP server URL:
https://mcp.nexudus.com - Authentication: OAuth (the default)
- Tick I understand and want to continue to acknowledge the Developer mode risk notice.
3
Sign in to Nexudus
ChatGPT opens a browser window to the Nexudus login page. Enter your Nexudus email and password and approve the connection. You are
redirected back to ChatGPT, and the connector is marked Connected.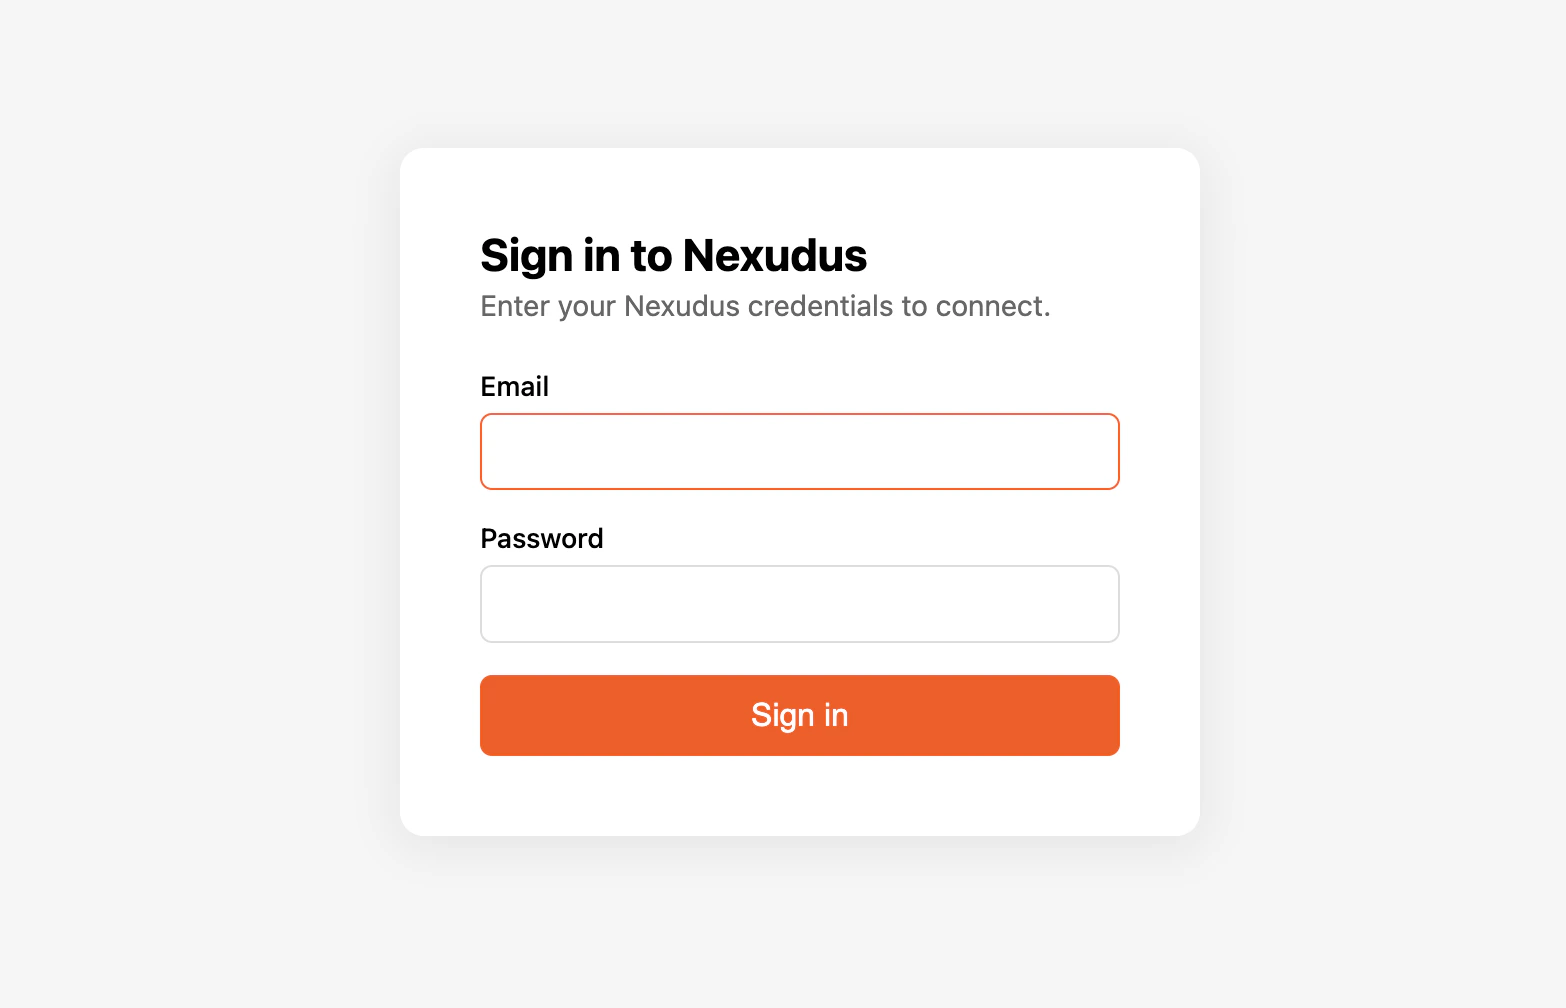
Step 3 — Enable the connector in a chat
Developer mode connectors are off by default in each new chat. To use Nexudus in a conversation:- Start a new chat.
- Open the Developer mode tool menu at the bottom of the message box.
- Toggle Nexudus on for the chat.
Verify it works
In a chat with the connector enabled, ask:“List my Nexudus locations.”ChatGPT should call the Nexudus connector and return your locations. If it does not, see Troubleshooting.
Things to try
- “Show me the bookings for today at my main location.”
- “How many active members do I have?”
- “Find the contact named ‘Smith’ and show their email.”
- “Update product 12345678 to set its price to £50.”
Disconnect or re-authenticate
To disconnect, return to Settings → Apps & Connectors → Advanced settings and remove the Nexudus connector. To re-authenticate after the 8-hour session expires, open the connector and choose Reconnect — ChatGPT walks you back through the login.Common issues
For more, see Troubleshooting.
Next steps
Available tools
What the AI assistant can do for you.
Sessions and re-auth
Why sessions expire after 8 hours.