

Overview
E-invoicing turns the invoices you issue in Nexudus into structured electronic invoices that tax authorities and your customers’ systems can read, and sends them through the right network for your country — such as Peppol, or VERIFACTU in Spain. It runs through a third-party service called Storecove. E-invoicing is included in your Nexudus subscription at no extra cost. It’s currently in beta.Setting up e-invoicing
Set up e-invoicing in each location separately — you can reuse the same tax identifiers if several locations belong to the same legal entity.1
Check your billing details
In Settings → Invoices and tax → Your details, make sure your billing address is complete and correct. In Spain, also choose your Province — VERIFACTU submissions need it.
2
Turn on e-invoicing
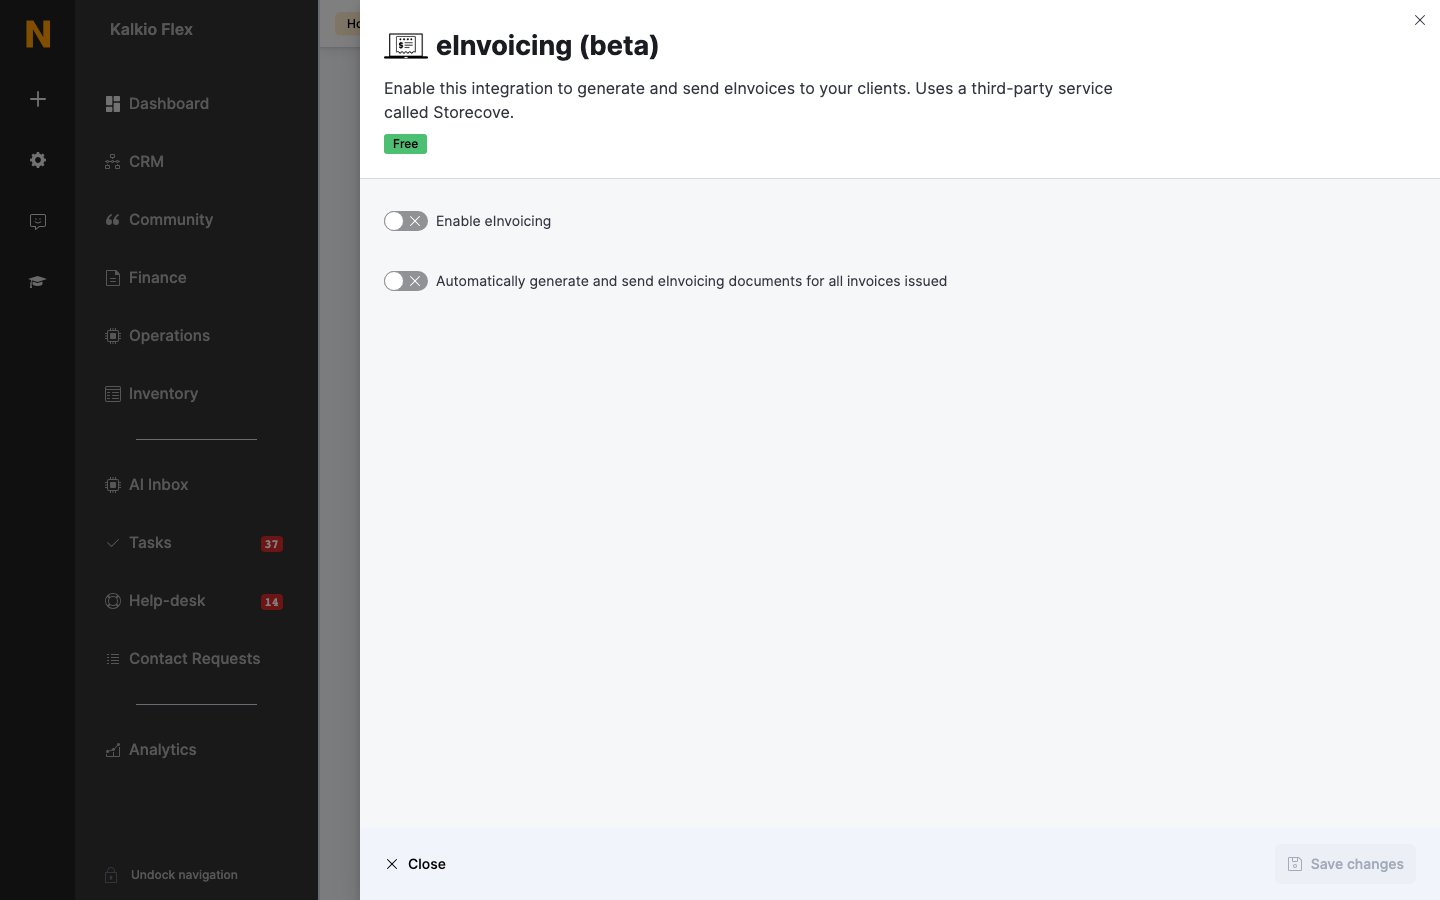
Go to Settings → Integrations → eInvoicing (beta) and turn on Enable eInvoicing.
3
Add your identifiers
Check the Country matches where your business is registered. Choose each Identifier Type your country requires, enter the Identifier without spaces or punctuation, and select Add Identifier. If several identifier types are listed — for example a legal and a tax identifier — add all of them, or submissions will fail.
4
Add payment methods (if needed)
Under Payment methods, add how you want to be paid — for example SEPA credit transfer or Direct debit — so they appear on your e-invoices. If you leave it empty, e-invoices show Cash. Payment methods are required in Germany.
5
Choose automatic sending
Turn on Automatically generate and send eInvoicing documents for all invoices issued to create an e-invoice for every new invoice. Otherwise, generate them yourself (see below). Save.
Generating e-invoices
Invoices issued before you turned on e-invoicing — or while automatic sending was off — aren’t sent until you generate their e-invoice. Generating an e-invoice never charges the customer again.- Go to Finance → Invoices, or a customer’s Invoices tab.
- Tick the invoices.
- Choose Generate eInvoicing document from Bulk actions.
Customers’ e-invoicing details
In many countries, customers — especially businesses — need their own identifiers on the e-invoices you send them. This is required when you send e-invoices through Peppol or VERIFACTU, or if customers shouldn’t receive their e-invoice by email.- Customers can add their own on the members portal, under their name → Billing → Payment details → eInvoicing: choose each Identifier type, enter the identifier, and select Add identifier. See Billing information.
- You can add them for a customer on their Account tab, under Contact and billing → eInvoicing information — for example for a new customer who can’t sign in yet. Choose the Customer Type (Business, Consumer, or Governmental Entity) and add their identifiers. The customer isn’t told about changes you make, so confirm them with the customer.
Related
- Accounting — all accounting integrations
- Invoice settings — your billing details and invoice formatting
- Moloni — SAF-T registration in Portugal