

Overview
UniFi Access is Ubiquiti’s door access system, running on your UniFi console at your location. Nexudus connects to it through the Nexudus Network Bridge, so you don’t need to open any ports. The integration adds your customers to UniFi Access and gives them the right access policies based on what they have in Nexudus. You decide which doors each policy opens in UniFi Access; Nexudus decides who has each policy. The integration costs £50 a month per location (shown in your currency).How access works
Before you start
- UniFi Access set up on a UniFi console (such as a Dream Machine Pro or Cloud Key), with your doors and readers online.
- An API key created in UniFi Access.
- Access policies created in UniFi Access — they can only be created and edited there. Each should include every door a customer needs.
- The Network Bridge installed on a computer on the same network, and registered in Settings → Devices. Note its device ID. See Network Bridge.
Setting up UniFi Access
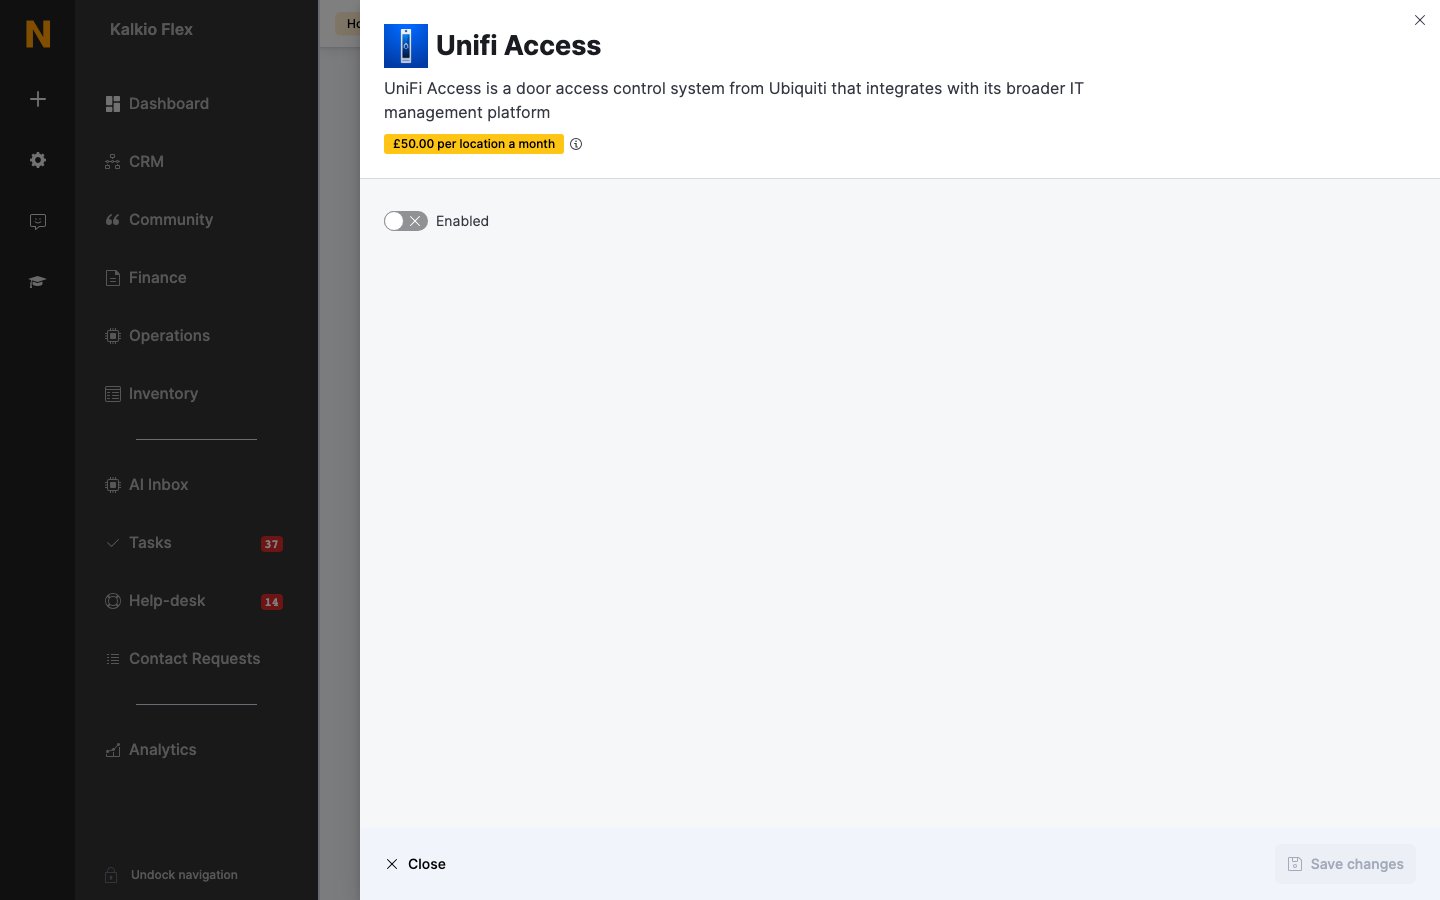
- Go to Settings → Integrations → Unifi Access and turn on Enabled.
- Enter your API Key and the Bridge Device ID.
- Set the options below, and save.
- Choose the UniFi Access policies for each of your Resources, Passes and Desks / Offices. Leave an item blank if it shouldn’t open any doors. Save again.
Giving customers NFC cards
Enrol the card in UniFi Access first. Then open the customer in Nexudus, go to Account → Access rights, and enter the card’s number — its alias or display ID in UniFi — in Access cards, pressing Enter after each one. Nexudus assigns the matching UniFi card to the customer. Customers can also open UniFi doors from their phone with an automation tile set to Show Access Control pop-up, which lists the doors they can open. UniFi Access doesn’t check customers in from door events — the Presence tracking section has no effect for UniFi Access. Use another check-in method if you track occupancy.Related
- Access control — how access control works in Nexudus
- Network Bridge — connecting systems on your local network