

Overview
Brivo is cloud-based access control. The integration adds your customers to Brivo and puts them in the right Brivo groups based on what they have in Nexudus. Each group is a set of doors you define in Brivo; Nexudus decides who’s in it. Registered visitors can get access too. The integration is free in Nexudus. You need a Brivo account with your doors installed, and a Brivo API key — Brivo usually shares one when you open your account, or you can request it from Brivo technical support.How access works
When a customer no longer has any access, Nexudus handles their Brivo user according to your No access policy.
Before you start
- Find your Brivo Admin ID. Sign in at access.brivo.com, select your icon in the bottom-left corner, and copy the Admin ID. You sign in with it, not your email address, when connecting.
- Create your groups in Brivo. Each group should include every door a customer needs — the building entrance and floor doors as well as the room itself. Create one for visitors too, if they’ll need access.
Setting up Brivo
1
Enter your details
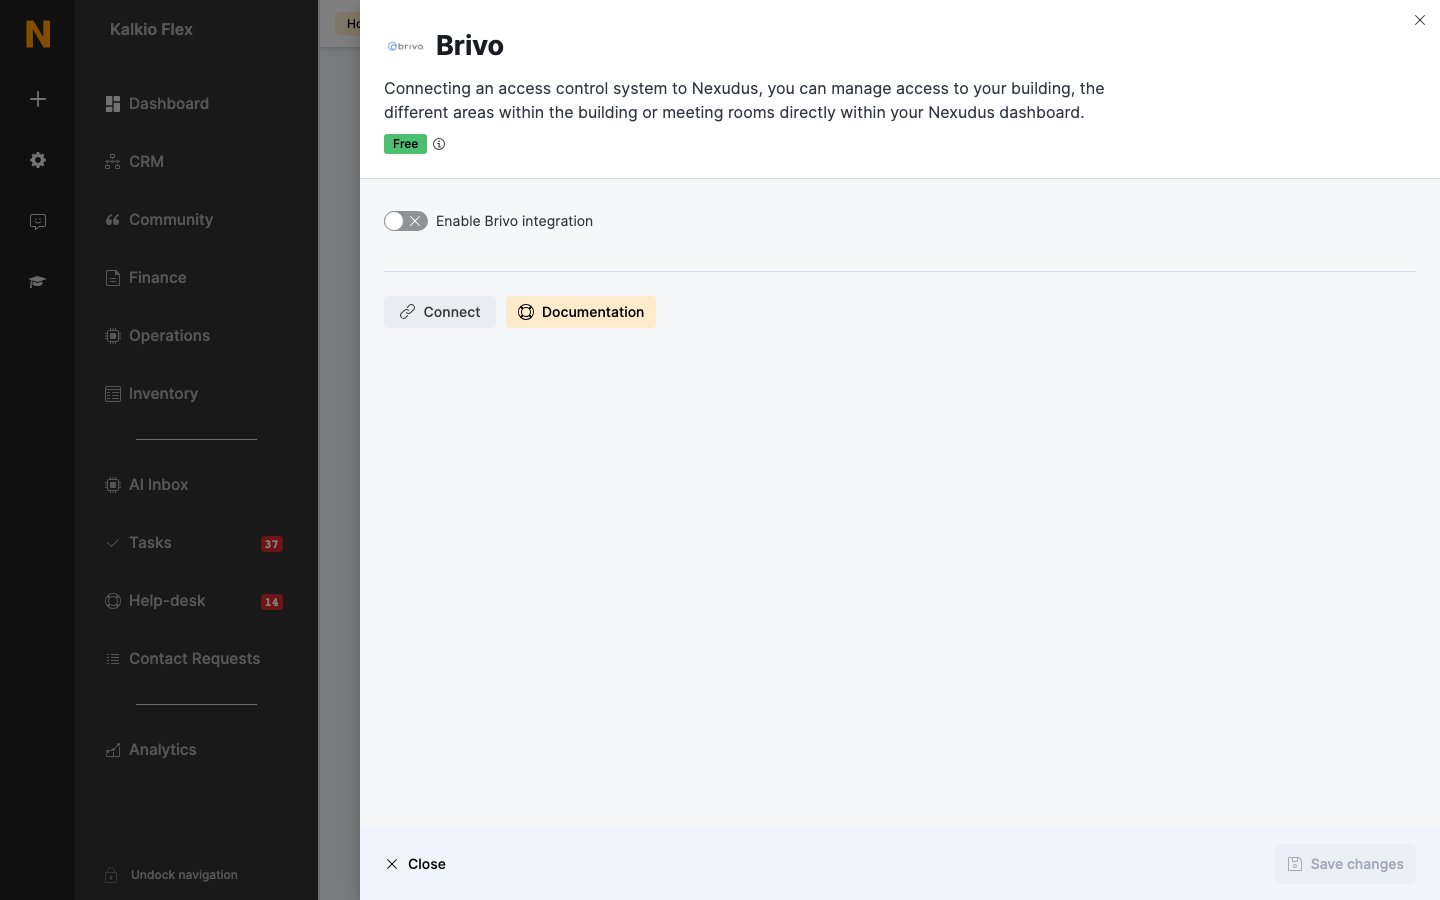
Go to Settings → Integrations → Brivo, turn on Enable Brivo integration, choose your Region — Europe for European accounts, Global for everywhere else — and enter your API Key. Set the options below, and save.
2
Connect
Select Connect and sign in to Brivo with your Admin ID and password. You’re returned to Nexudus.
3
Link your inventory
Choose a Brivo access group for each of your Resources, Passes and Desks / Offices. Leave an item blank if it shouldn’t open any doors.
4
Choose credentials and check-in doors
Under Credential type, choose the Access card format for customers and the Visitor QR code format for visitors. Under Presence tracking, choose an Action for each lock (below). Save.
Settings
Choosing a no access policy
Brivo bills Mobile Pass licences per active mobile pass, so this choice affects your Brivo costs.Checking customers in from door unlocks
Under Presence tracking, set each lock’s Action: Check customer in (for example, your main entrance), Check customer out, Toggle customer check-in status, or Do nothing.How customers and visitors open doors
When customers first get access, Brivo emails them a Mobile Pass invite code. They redeem it once — unless their user is deleted, or suspended with the mobile pass removed.- In the Brivo Mobile Pass app — they select Enter Invite Code, enter the email address they use with your space and the code, and select Redeem Invite. With Brivo readers they can then hold their phone near the reader; with third-party readers, they choose the door in the app.
- In the white-label Passport app — they go to My Activity → Integrations → Manage Mobile Pass, select Set up mobile pass, and enter the code. If Redeem OnAir Passes automatically on the mobile app is on, this happens for them. They then tap Unlock door.
Related
- Access control — how access control works in Nexudus
- Visitors — registering visitors
- Check-ins — tracking who’s in your space