Overview
The MikroTik integration turns a MikroTik router into a Wi-Fi hotspot with a captive portal. When customers join your Wi-Fi, they sign in with their Nexudus details. Nexudus lets them online if they hold a valid pass with network access, and checks them in and out based on their network activity. The integration is free.Before you start
You need:- A MikroTik router running RouterOS with a level 6 licence. The integration doesn’t work with other licence levels.
- The router’s full admin username and password — the admin user you used to set up the router.
- Someone familiar with RouterOS. If your team isn’t, a MikroTik consultant can set up the hotspot for you.
Setting up MikroTik
1
Turn on the integration
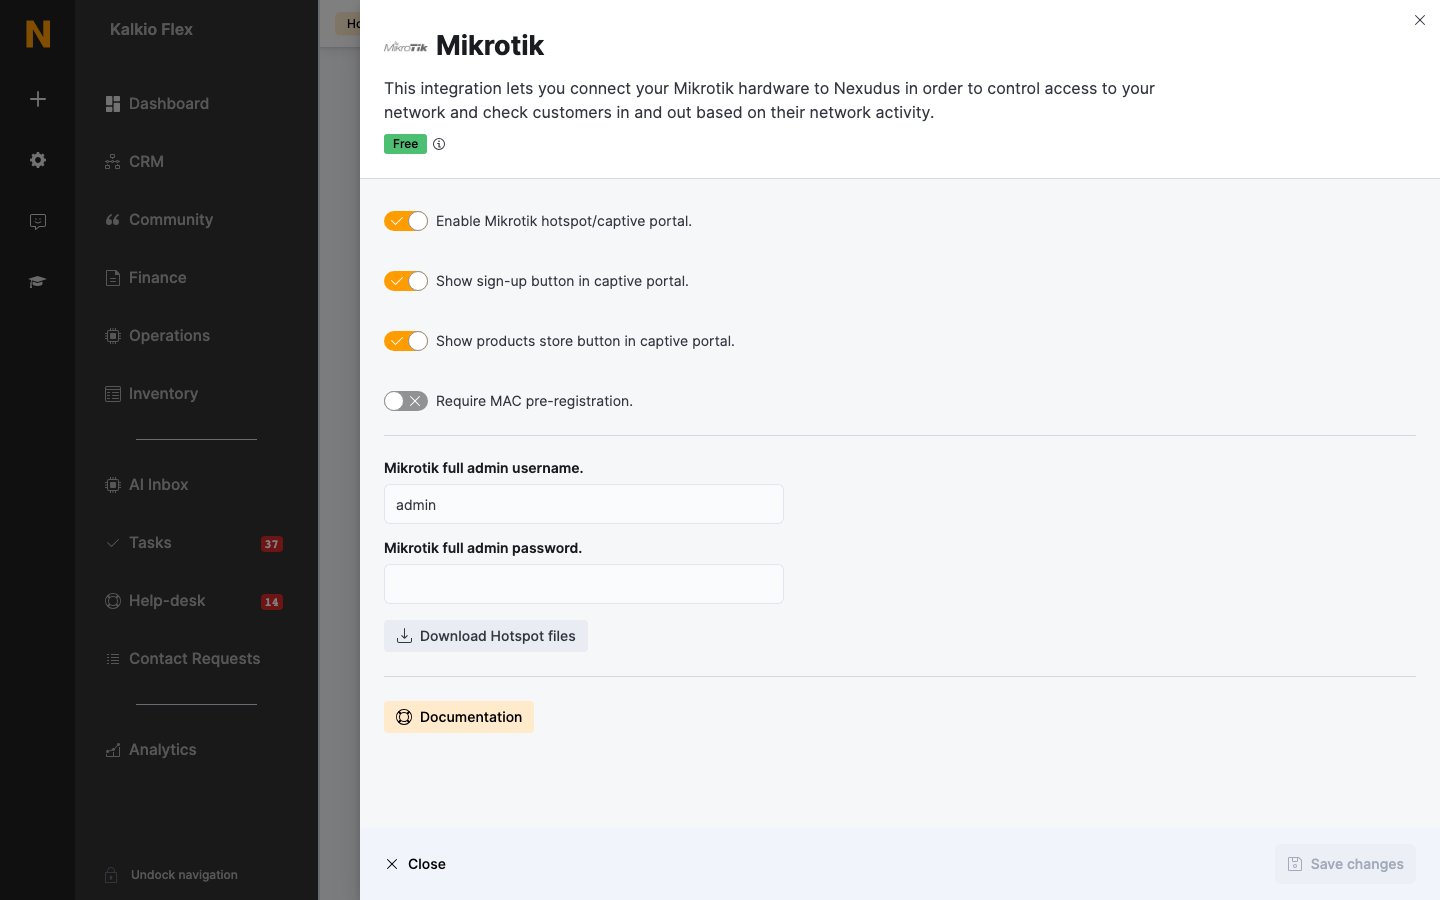
Go to Settings → Integrations → Mikrotik and turn on Enable Mikrotik hotspot/captive portal. Enter the router’s Mikrotik full admin username. and Mikrotik full admin password., choose the captive portal options below, and save.
2
Download the hotspot files
Select Download Hotspot files. The download contains the hotspot pages (
login.html, logout.html and status.html) and three scripts: OnLogin, OnLogout, and CheckActiveUsers.3
Create the hotspot in RouterOS
In RouterOS, create a hotspot and:
- Set its authentication to MAC HTTP CHAP, with MAC as the username in MAC Auth Mode.
- Use the same admin user you entered in Nexudus as the hotspot’s admin user.
- Replace the hotspot’s pages with the downloaded
hotspotfiles. - Replace the OnLogin and OnLogout scripts with the downloaded scripts, and add the
CheckActiveUsersscript.
4
Set up the walled garden
Add the sites customers must reach before signing in to the hotspot’s walled garden — at least your members portal (
<your-web-address>.spaces.nexudus.com, found in Settings → Website) and your payment provider, such as checkout.stripe.com and api.stripe.com, so new customers can sign up and pay.5
Turn on network access in your passes
On each pass that should include Wi-Fi, turn on Allow customers holding this pass to connect to your IT network.