

Overview
The Xero integration sends the invoices you issue in Nexudus to Xero, along with their customers and payments. It can also bring payments recorded in Xero back into Nexudus, marking the matching invoices as paid. Transfers run automatically every six hours, or whenever you start one. The integration is free.Before you start
You need:- A Xero organisation for each location, with its chart of accounts and tax rates set up. One Xero account can hold organisations for several locations.
- Matching accounts and tax rates in Nexudus. Follow Before you connect Xero or QuickBooks first.
Connecting Xero
1
Open the integration
Go to Settings → Integrations → Xero.
2
Connect your organisation
Select Connect, sign in to Xero, choose the organisation for this location, and select Allow access. You’re returned to Nexudus, where the organisation appears under Xero location.
3
Choose your accounts
Choose the Default payments account and any other payments accounts (see below), and a Default tax rate.
4
Choose what syncs
Turn on the transfer options you want, then save.
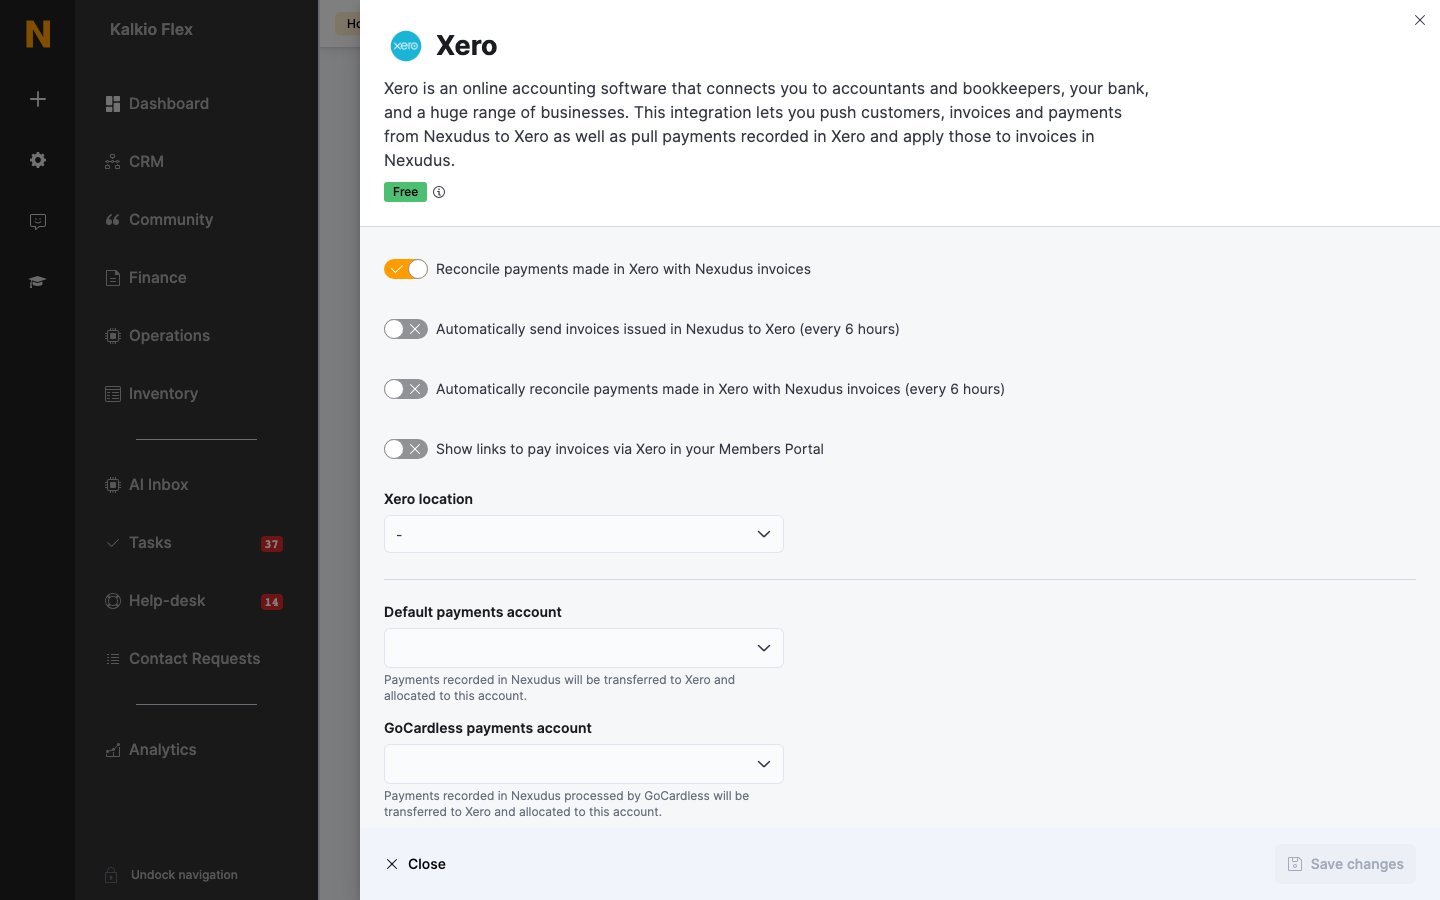
Settings
Payments accounts
Payments recorded in Nexudus are sent to Xero and allocated to a payments account depending on how they were made:
Each must be a Payments financial account in Nexudus with the same name and code as the account in Xero.
Xero rounds each line’s net and tax amounts to two decimal places. If your amount rounding settings don’t match, a warning appears in the integration with a link to Rounding settings.
Transferring invoices
With automatic transfers on, there’s nothing to do — invoices go to Xero every six hours. To transfer straight away:- Go to Finance → Invoices and tick up to 100 invoices — draft, unpaid, due or paid.
- Choose Transfer to Xero from Bulk actions.
Tracking categories
If you run several locations through one Xero organisation, use a tracking category to filter your Xero reports by location. In Xero, go to Accounting → Advanced → Tracking categories and add a category named Location, Space, Site, Center, Centre, or Building. Nexudus adds an option for each location as it transfers its invoices.Troubleshooting
Failed transfers are listed under Finance → Invoices → Xero errors. Transfers carry on past individual failures, so fix the invoice and transfer it again.
Changes to your accounts in Xero aren’t copied to Nexudus — update the matching financial accounts in Nexudus yourself.
Related
- Accounting — preparing your accounts
- Xero payment links — letting customers pay through Xero
- Invoices — issuing and managing invoices