

Overview
The QuickBooks Online integration sends the invoices you issue in Nexudus to QuickBooks, along with their customers and payments. It works with QuickBooks Online only, not QuickBooks Desktop. The integration is free.Before you start
You need a QuickBooks Online account, and matching accounts and tax rates in Nexudus. Follow Before you connect Xero or QuickBooks first.Connecting QuickBooks Online
1
Change two QuickBooks settings
In QuickBooks, open the gear menu → Company Settings → Advanced and untick Automatically apply credits and Automatically apply payments, then save. This stops QuickBooks applying payments to the wrong invoices.
2
Connect
In Nexudus, go to Settings → Integrations → Quickbooks, select Connect, sign in to QuickBooks, and allow access. You’re returned to Nexudus.
3
Choose your accounts and options
Choose the Payments account and Default tax rate, turn on the options you want, and save.
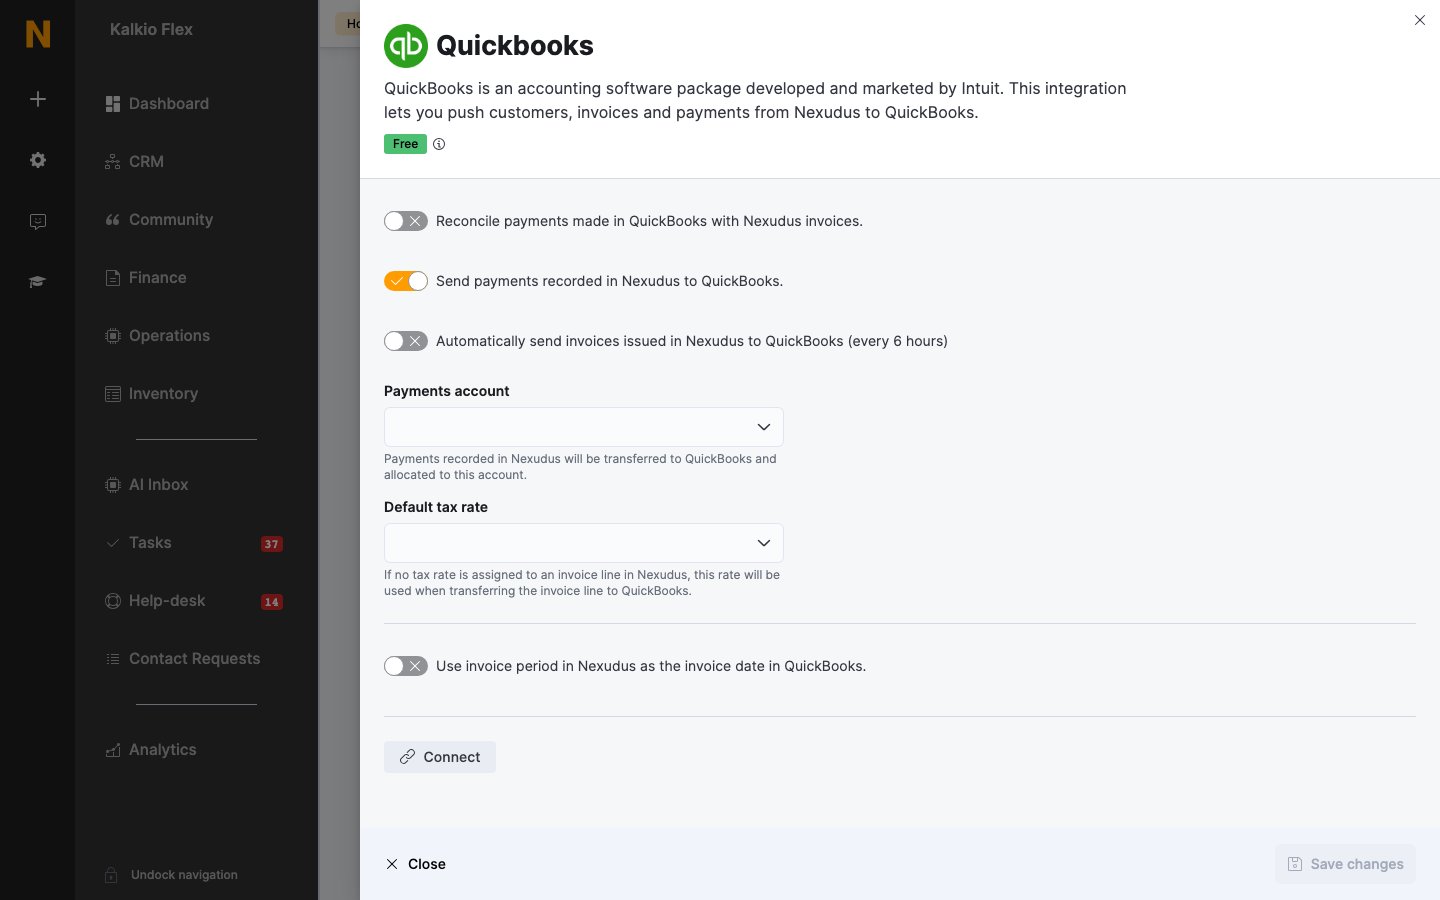
Settings
Transferring invoices
To transfer straight away, go to Finance → Invoices, tick the invoices, and choose Transfer to QuickBooks from Bulk actions. Transferred invoices show an In QuickBooks badge.Cancelled and refunded invoices
Transfer the credit note first, then the invoice:- Cancelled, unpaid — QuickBooks links the credit note to the invoice, closes it, and shows the invoice as paid.
- Cancelled, paid — QuickBooks creates a credit note that stays unapplied, as the credit can still be used.
- Refunded — QuickBooks records an invoice, a payment, and a refund rather than a credit note.
Troubleshooting
Failed transfers are listed under Finance → Invoices → QuickBooks errors.Related
- Accounting — preparing your accounts
- Invoices — issuing and managing invoices