

Overview
PaperCut Bridge connects your PaperCut MF or NG server to Nexudus. A small agent — the Nexudus Bridge agent — runs on a Windows computer next to PaperCut. It creates and removes PaperCut users as customers gain and lose access, sends their printing credit to PaperCut, and brings their print jobs back to Nexudus to be charged. PaperCut Bridge replaces the older PaperCut extender. The integration is free in Nexudus; you need a PaperCut licence.Before you start
A Windows computer
The Bridge agent only runs on Windows. Use the computer that runs PaperCut if you can. It must:- Stay switched on at all times — the agent can’t sync while it’s off.
- Have a static IP address. Find it by running
ipconfigin Command Prompt and noting the IPv4 address. - Have the latest version of .NET installed.
- Be one you have admin access to.
PaperCut settings
In your PaperCut admin console:- Licence — make sure your PaperCut MF or NG licence covers everyone who’ll print, with some room to grow.
- User sync — in Options → User/Group Sync, leave Primary sync source empty and tick Enable internal users. Nexudus creates your users instead.
- Printers — for each printer customers use, tick Unauthenticated printer under Advanced configuration, so PaperCut asks customers to sign in to release prints.
- Authentication token — set up a web services authentication token (PaperCut’s guide explains how) and keep it safe; you’ll need it in Nexudus.
- Approved server — in Options → Config Editor, add a comma and your computer’s IP address to
auth.webservices.allowed-addresses, with no spaces. - Password length — in Options → Config Editor, set
internal-users.self-registration.min-password-lengthto 8 or more. Customers’ PaperCut password is their Nexudus PIN padded with zeros — PIN 12345 becomes 00012345.
Setting up PaperCut Bridge
1
Download the agent
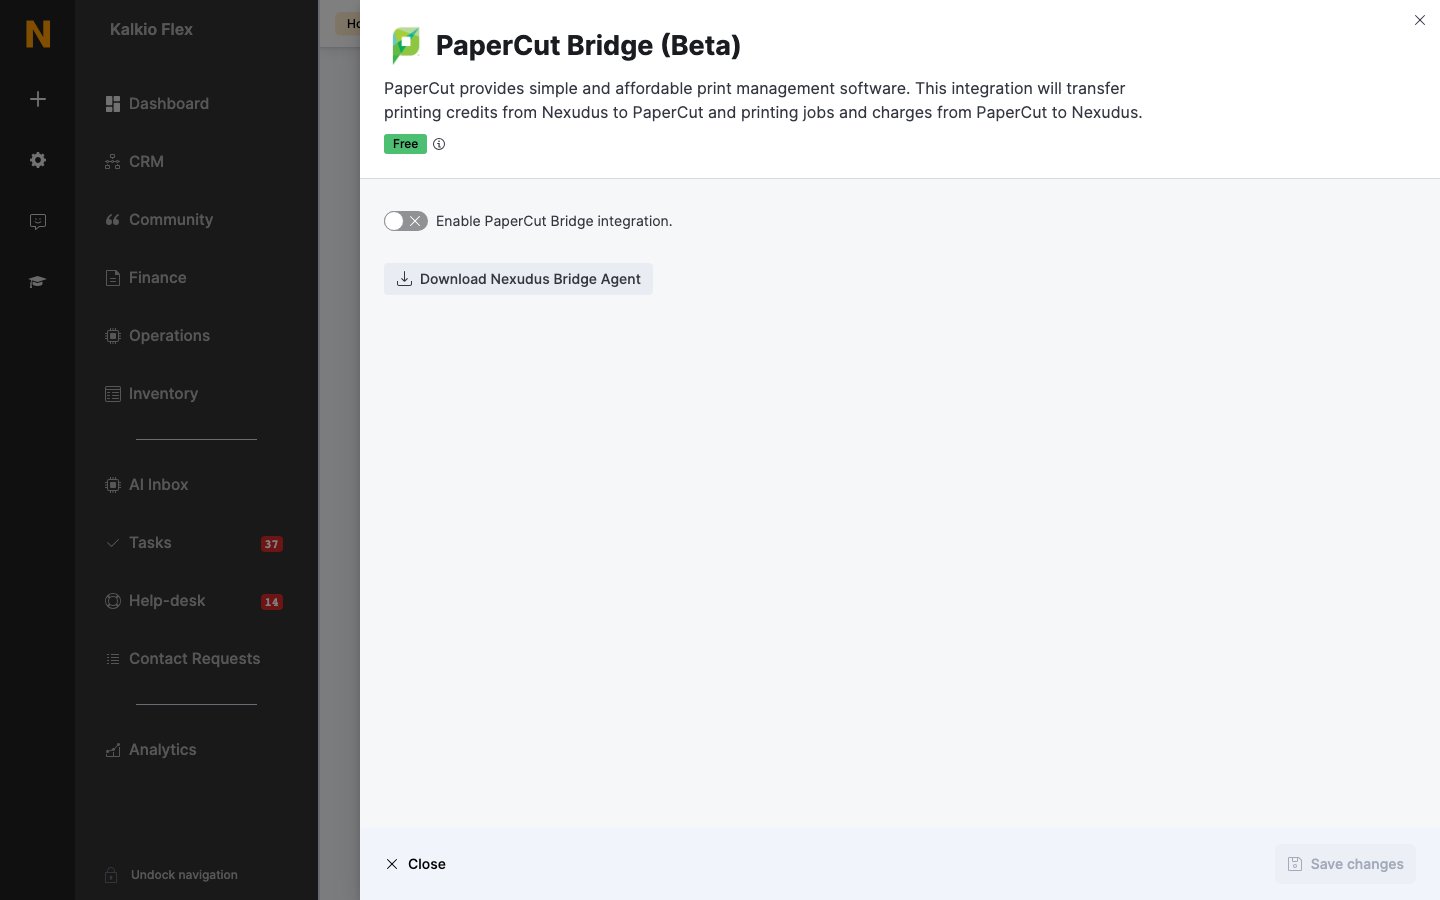
Go to Settings → Integrations → PaperCut Bridge (Beta), turn on Enable PaperCut Bridge integration., and select Download Nexudus Bridge Agent. Move the file to its own folder on the C: drive, for example C:\Nexudus PaperCut Bridge.
2
Get the device ID
Open Command Prompt, paste the agent’s file path (right-click the file → Copy as path), and press Enter. Copy the ID shown after Register device with ID.
3
Register the device in Nexudus
Go to Settings → Devices, select Register device, and enter the ID. Open the new device, rename it PaperCut Bridge Agent, and under Configuration data → host enter
http:// followed by your IP address and :9191 — for example http://192.168.1.20:9191, with nothing after it.4
Install and start the agent
Open Command Prompt as administrator, enter the agent’s file path followed by
--install, and press Enter. Then open Services in Windows, right-click Nexudus Bridge Agent, and select Start.5
Finish the settings
Back in Settings → Integrations → PaperCut Bridge (Beta), enter your PaperCut authentication token as the API Key and the Bridge Device ID. Set the options for your pricing model (below), choose the Location, and save.
Settings
For credits only, leave all four “new members/contacts” switches off.
The “new members/contacts” switches only affect customers created after you turn them on. For existing customers, see below.
Giving customers access
With credits only, customers are added to PaperCut automatically when they get printing credit. For the other models, give them access:- In bulk — use Settings → Bulk edits on your customers and, under Printing, turn on Unrestricted user in PaperCut (pay-per-print models) or Free unlimited printing via PaperCut (free printing).
- One at a time — on the customer’s Integrations & Services tab, turn on Unrestricted user in PaperCut or Free unlimited printing.
+ aren’t supported.
If a customer has several Nexudus accounts with the same email address, they’re one user in PaperCut, linked to their preferred account. Nexudus picks, in order: the account that already has a PaperCut balance, then one with a portal login, then an active account, then an individual (rather than company) account, then the oldest. Printing credit from all their accounts goes to that PaperCut user, and pay-per-print charges are invoiced to the preferred account.
Deleting a customer in Nexudus doesn’t remove their PaperCut user. Suspend them, or turn off their printing options, before you delete them. Turning off the integration doesn’t remove PaperCut users either.
How customers print
- Customers sign in to the PaperCut web portal with their PaperCut username — their email address with the
@replaced by a dot, so sam@example.com becomes sam.example.com — and their password, which is their PIN padded with zeros. They can find their PIN in the Passport app (My Profile → PIN and Password) or the members portal (Settings → Security). - They send their print job, then release it at the printer with their five-digit PIN code.
Moving from the PaperCut extender
To switch from the older extender, set aside an hour outside opening hours — customers can’t print during the move. First turn off Enable PaperCut integration. in Settings → Integrations → PaperCut, then in Windows Task Scheduler open the Nexudus_spaces folder and disable (don’t delete) each task. Then follow the setup above.Related
- Printing — pricing models and setting up credits and products
- Printing credit — giving customers printing credit
- PaperCut (Extender) — the older PaperCut integration