

Overview
Accounting integrations send the invoices you issue in Nexudus — and the payments recorded against them — to your accounting or tax system, so you don’t have to re-enter them. Nexudus stays where you issue invoices; the accounting system receives copies.
All four are free and set up under Settings → Integrations → Accounting and payments, separately for each location.
Before you connect Xero or QuickBooks
Invoices only transfer cleanly when Nexudus and your accounting system use the same accounts and tax rates. Set these up before connecting, because invoices issued before they match can’t be transferred.1
Create matching sales accounts
In Settings → Invoices and tax → Accounts, add a financial account for each sales account you use in your accounting system, with exactly the same Name and Code — for example Membership Revenue, code 4000.
2
Create matching payments accounts
Add the accounts your accounting system records payments in the same way, choosing Payments as the account type. You’ll choose them in the integration’s settings.
3
Match your tax rates
Make sure every tax rate in Nexudus has an identical counterpart — same name and rate — in your accounting system.
4
Assign accounts and tax rates to everything you sell
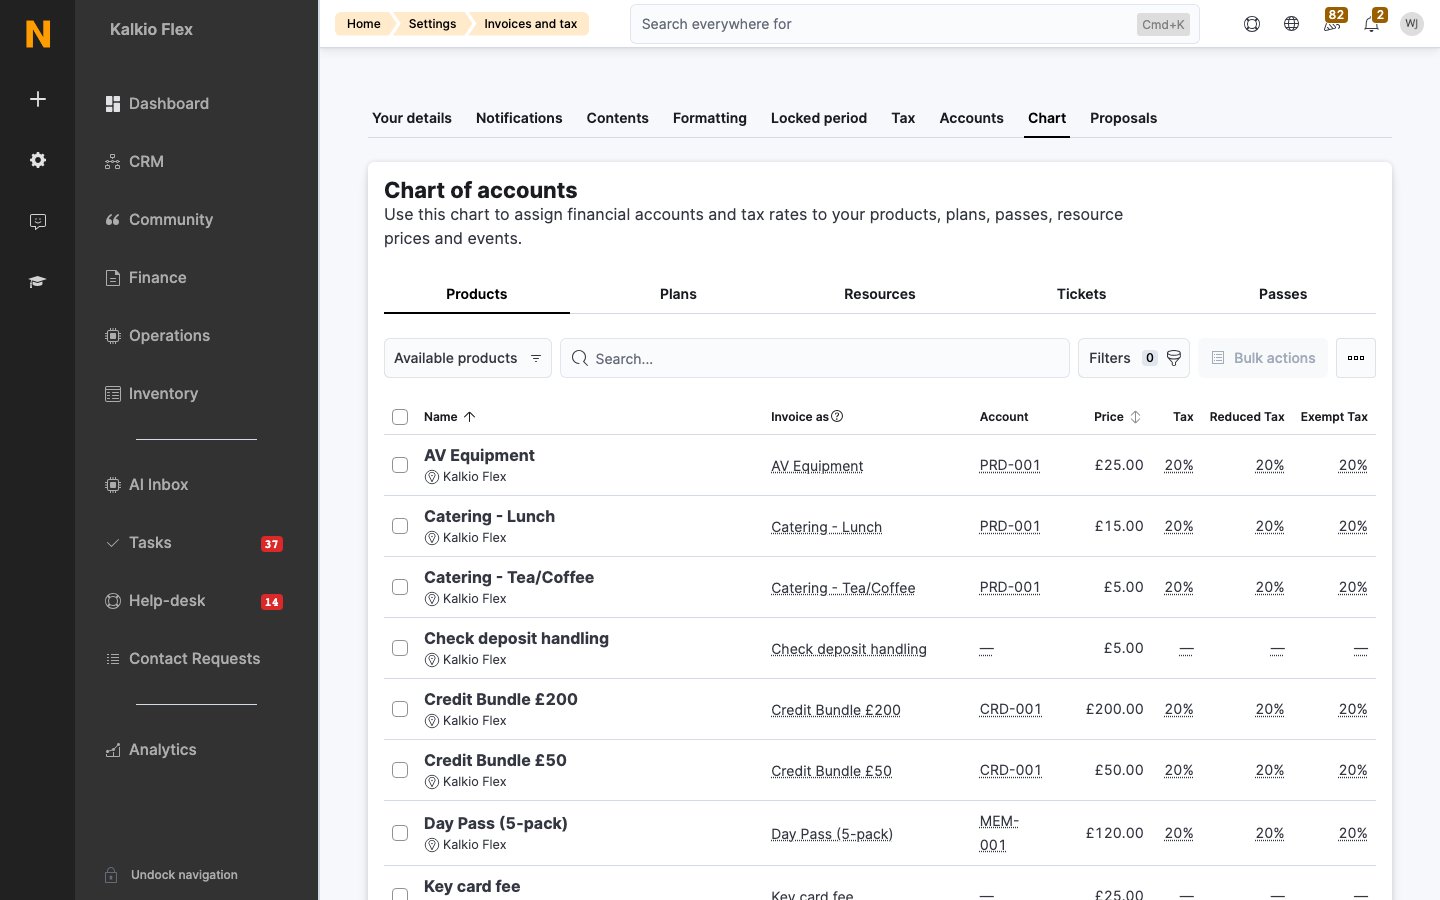
In the chart of accounts, give every product, plan, resource rate, event ticket and pass a financial account and tax rate. Invoice lines without an account are rejected.
Checking transfers
Transferred invoices show a badge in Finance → Invoices — In Xero, In QuickBooks, or In Moloni — and e-invoices show eInvoice processed or a failure badge. When a transfer fails, the reason is logged under Finance → Invoices, in Xero errors, QuickBooks errors, Moloni errors, or eInvoicing errors. These links appear once the integration is connected.Related
- Financial accounts — the accounts your invoices are posted to
- Tax rates — the rates applied to invoice lines
- Invoices — issuing and managing invoices
- Import payments from DATEV — matching DATEV payments to Nexudus invoices