

Overview
Invoice settings control the details printed on your invoices, how they’re numbered and rounded, what they include, and when they can no longer be changed. Changes only affect invoices created afterwards: invoices you’ve already issued don’t change.How to access
Go to Settings → Billing and payments → Invoices and tax. Invoice settings are on the Your details, Notifications, Contents, Formatting and Locked period tabs. Tax rates and financial accounts are on the other tabs: see Tax rates and Financial accounts.Your details
The details printed on every invoice:- Invoice details: your Company / trading name, Billing address and VAT / Tax ID number.
- Bank details: your Bank name, Bank code, Sort code / routing number and Account number, printed at the bottom of each invoice.
Notifications
Payment notifications to customers set the default notifications for customers registered from now on: emails about new invoices, successful payments and failed payments. Existing customers keep their own settings, which you can change on their account. Payment notifications to administrators email the addresses you enter after every successful payment or failed payment.Contents
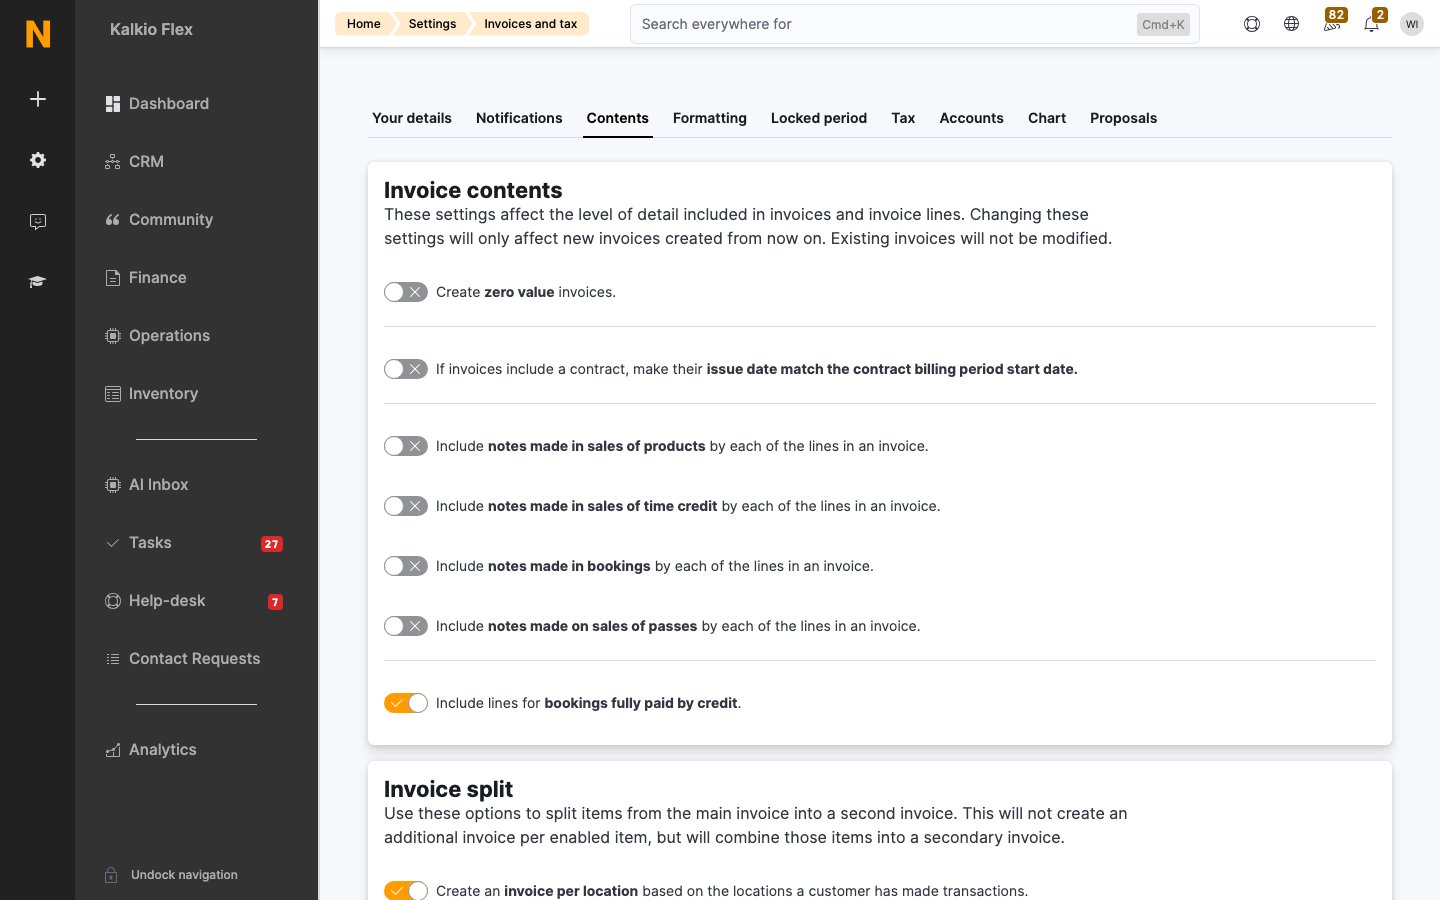
Invoice contents
Invoice split
By default, everything due for a customer goes on one invoice. Use these options to put some items on a second invoice:- Create an invoice per location based on the locations a customer has made transactions at.
- Create an invoice per contract if a customer is due to renew more than one contract.
- Create an invoice per purchase order reference.
- Move Bookings, Products, Passes, Event tickets or Charges to a secondary invoice. All the selected item types go on one secondary invoice, not one invoice each.
- Secondary invoices should have their date set to one day earlier than the primary invoice.
Formatting
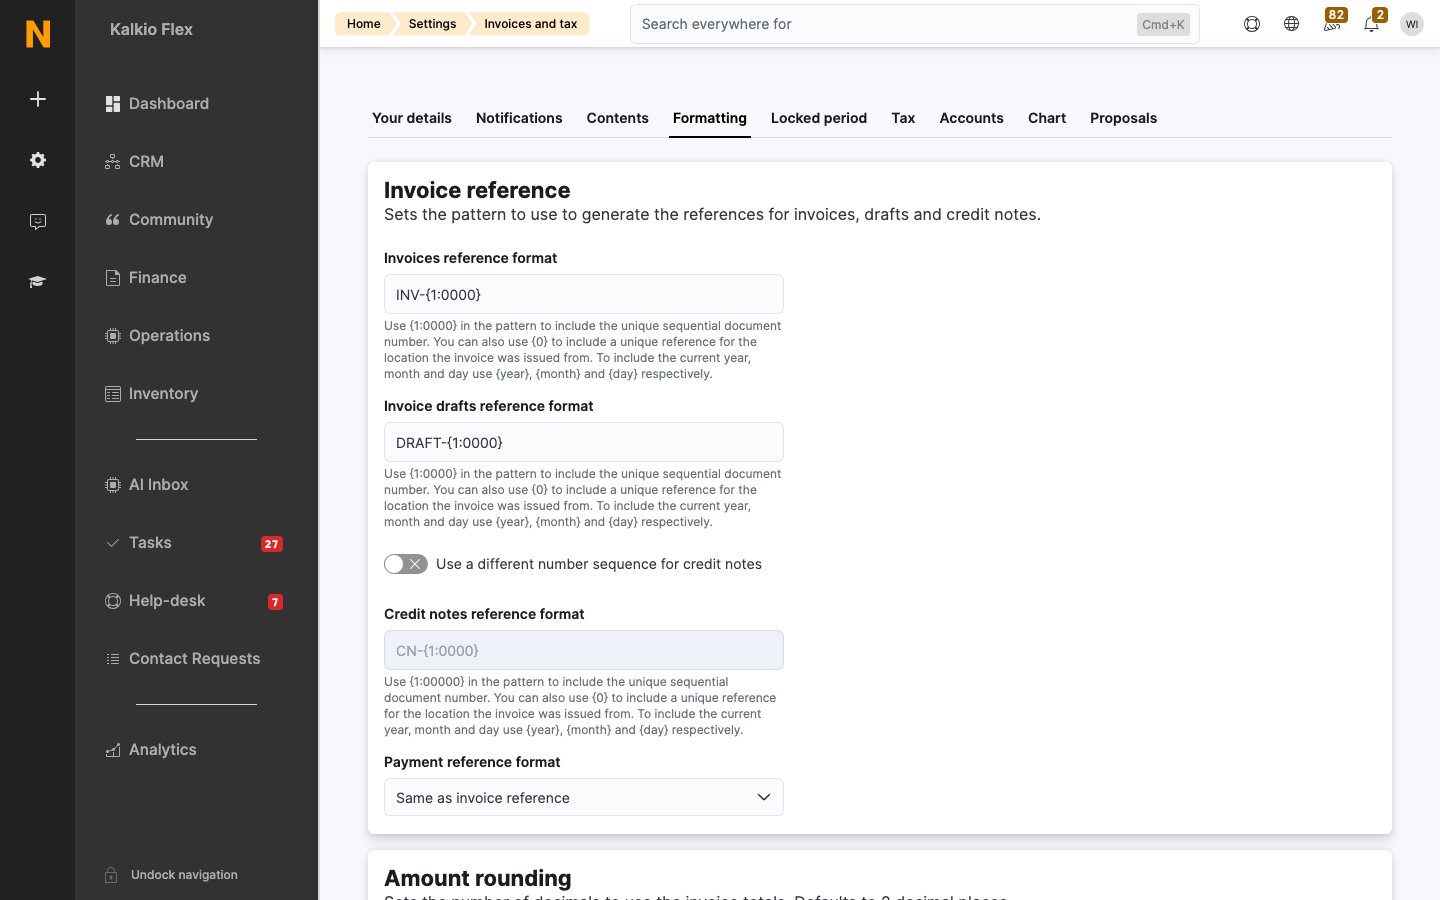
Invoice references
Set the pattern for Invoices reference format, Invoice drafts reference format and, if you turn on Use a different number sequence for credit notes, Credit notes reference format. The defaults areINV-{1:0000}, DRAFT-{1:0000} and CN-{1:0000}.
Changing the format doesn’t restart the sequence. If you’ve issued 200 invoices and change the format to
NEW-{1:0000}, the next invoice is NEW-0201. References can be up to 255 characters.
To change the reference of an invoice you’ve already issued, open it and edit the reference, but don’t change its number. See Edit an invoice.
Payment reference format sets the reference customers use when paying: Same as invoice reference, Same as invoice reference but only numbers, Sweden OCR numbers or Swiss QR-bill reference.
Amount rounding
Turn on Enable amount rounding and set the Line amounts rounding decimal places and Total amounts rounding decimal places, between 0 and 5. The default is 2 decimal places, the standard for most currencies. Use the same number of decimal places for lines and totals unless you want totals rounded more than lines. The number of decimal places also limits how you can price items: with 2 decimal places you can charge £25.99 but not £25.505.Locked period
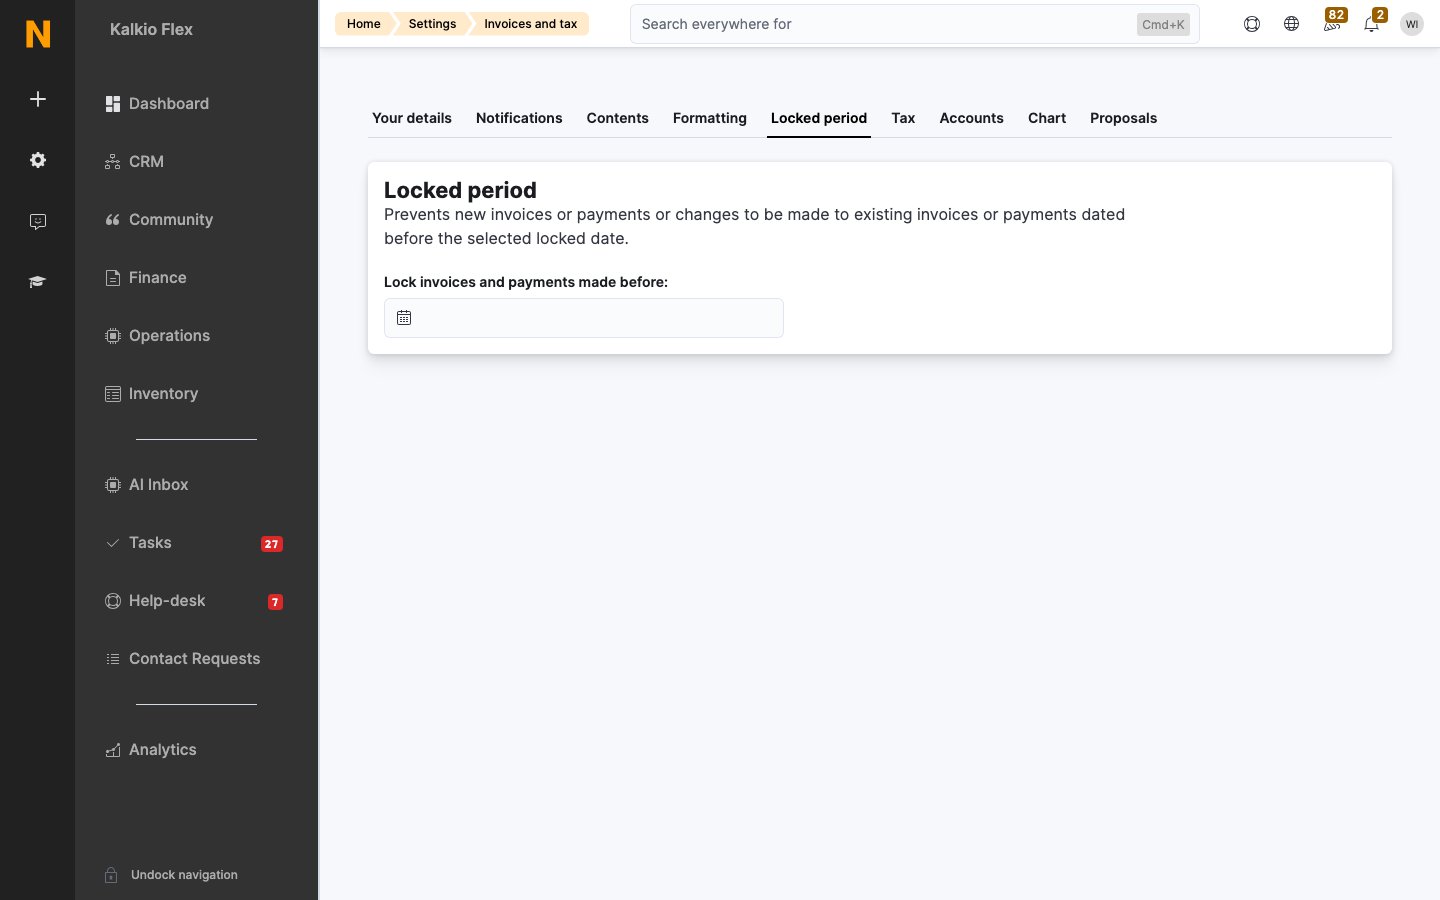
- No invoices or payments can be created dated before the locked date.
- Invoices issued before the locked date can’t be edited, and their lines can’t be deleted.
- You can still refund, credit or cancel those invoices, and take payments for them, as long as the new transactions are dated after the locked date.
Invoice as
Each item you sell can appear on invoices under a different name. Set it in the Invoice as column of the chart of accounts, for plans, products, passes and resource prices. It’s the item’s name by default and can’t be blank. Items with the same Invoice as name are grouped into one line on invoices, even if they’re different types. For example, name all your teas and coffees “Hot drinks”, or all your deposit products “Deposit”. Grouping only shows on the invoice PDF, which is what customers see. In the dashboard, each item still has its own line. Items invoiced to a team’s paying member for individual team members stay on separate lines, with each member’s name.Customise the invoice template
Invoice PDFs are generated from theinvoice.htm template. To change their layout or content, go to Settings → Features → Web templates editor, open Built-in files and edit invoice.htm. Use the Diff view to see your changes compared with the original. Changes apply to invoices downloaded or sent from then on.
You need a working knowledge of HTML and CSS to edit the template. Common changes include:
- Hiding zero-value lines: wrap each invoice line in
{% unless line.SubTotal == 0 %}…{% endunless %}inside the<tbody id="invoice_items">loop. - Translating invoices: invoices use your location’s language. To show them in other languages, translate the invoice’s language tokens. See Languages.
- Splitting the tax total into two equal taxes, such as central and state tax.
Swiss QR-bills
For locations in Switzerland and Liechtenstein invoicing in CHF or EUR, invoices can include a Swiss QR-bill:- On the Your details tab, check your Billing address, VAT / Tax ID number, and your IBAN as the Account number, with no spaces or punctuation, such as
CH9300762011623852957. - On the Formatting tab, set Payment reference format to Swiss QR-bill reference.
- Use an invoice template that includes the QR-bill. Contact Nexudus support for the QR-bill version of
invoice.htm. - Create a test invoice for a test customer, check the QR-bill at the bottom, then cancel the invoice.