

Overview
Before you hold a customer’s mail, you may need to know who they are. Virtual office plans can ask customers for proof of address and ID, screen their company’s directors against sanctions lists, and send them an onboarding form. You review the checks in Nexudus, and the customer’s contract can wait to start until they pass. Customers complete onboarding in the Members Portal after they buy the plan. See Virtual office onboarding.Set up checks on the plan
Open the plan’s Virtual Office tab and go to Virtual office onboarding.Connect Stripe Identity, OpenSanctions and Pappers
Automatic checks need an account with each provider. Go to Settings → Integrations and, under Compliance:- Stripe Identity verifies ID documents. Turn on Enable Stripe Identity and enter your Stripe Publishable Key and Stripe Secret key. You can also have it compare the document’s name, address line, city and state with the customer’s details.
- OpenSanctions screens directors against international sanctions lists and politically exposed persons (PEPs). Turn on Enable OpenSanctions integration and enter your API Key.
- Pappers checks directors against the Pappers company registry. Turn on Enable Pappers integration and enter your API Key.
What happens when a customer signs up
- The customer buys the plan. If the contract waits for checks, it’s created without a start date for invoicing, and the customer is sent a welcome email.
- In the Members Portal, the customer adds their company and personal details, their directors, and uploads the documents you’ve asked for.
- Nexudus runs AML screening on the directors, if it’s on.
- You review the documents, or Stripe Identity checks them.
- When every check has passed, the contract starts and is invoiced from its start date. Nexudus adds the company’s directors as nominated recipients and adds the company as an alias, unless the customer already added them.
Review identity checks
Go to CRM → Identity checks to see every check, or open a customer’s contract and go to Identity checks.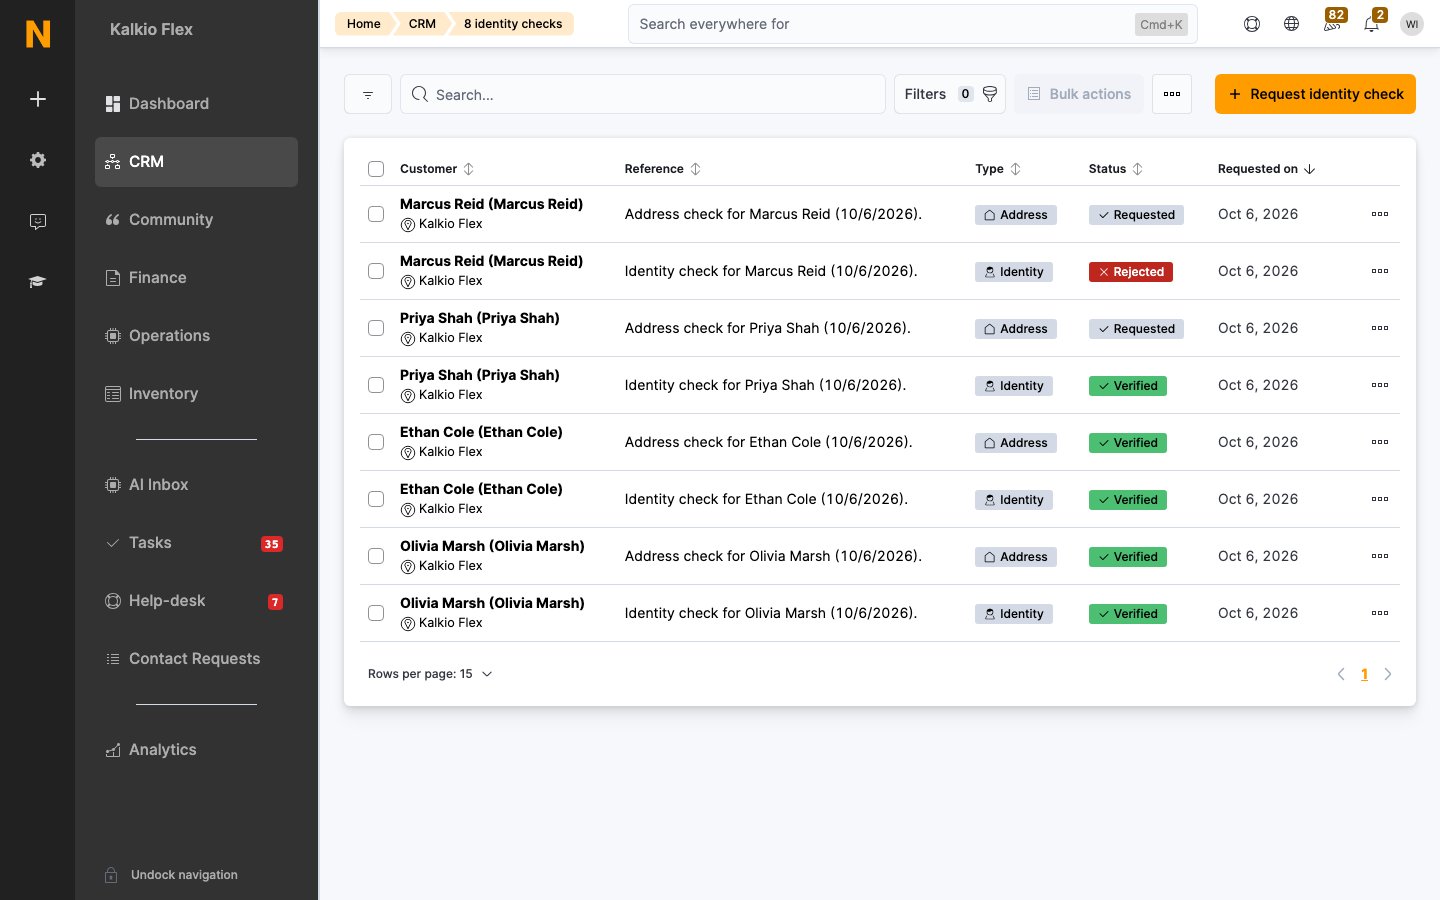
- Open the check and look at the uploaded documents. If the customer’s address is outside your location’s country, you see a Country mismatch warning.
- Select Mark as verified, or Mark as rejected and add Rejection notes to tell the customer why.
Review AML checks
Open the contract and go to AML checks. Each director has an AML Status:
For each director, choose Details to see the results, Clear to clear a potential match, Confirm Match to confirm it, or Re-run to screen them again. Add notes about your decision.
The contract only starts once every director is Clear or Manually cleared.