

Overview
The RADIUS integration connects most business Wi-Fi systems to Nexudus. Customers sign in to your Wi-Fi through a splash page with their Nexudus details, or a Wi-Fi access code, and Nexudus decides whether to let them online based on their passes. It also checks them in when their Wi-Fi session starts and out when it ends. Nexudus provides RADIUS through IronWiFi, so your Wi-Fi controller must be one IronWiFi supports. Supported vendors include Cisco and Meraki, Ubiquiti, Aruba, Ruckus, Fortinet FortiGate, MikroTik, TP-Link EAP, Peplink, pfSense, SonicWall, Extreme, Aerohive, and others.Licence and pricing
You need a RADIUS licence from Nexudus for each location that uses the integration. The licence costs a minimum of £65 a month for up to 5 access points, plus £6 a month for each additional access point (shown in your currency in the integration settings). Charges start as soon as the licence is issued. To get a licence, contact Nexudus support with the number of access points at the location and your Wi-Fi controller’s vendor. To cancel some access points or the whole licence, contact support too.Setting up RADIUS
1
Get your licence
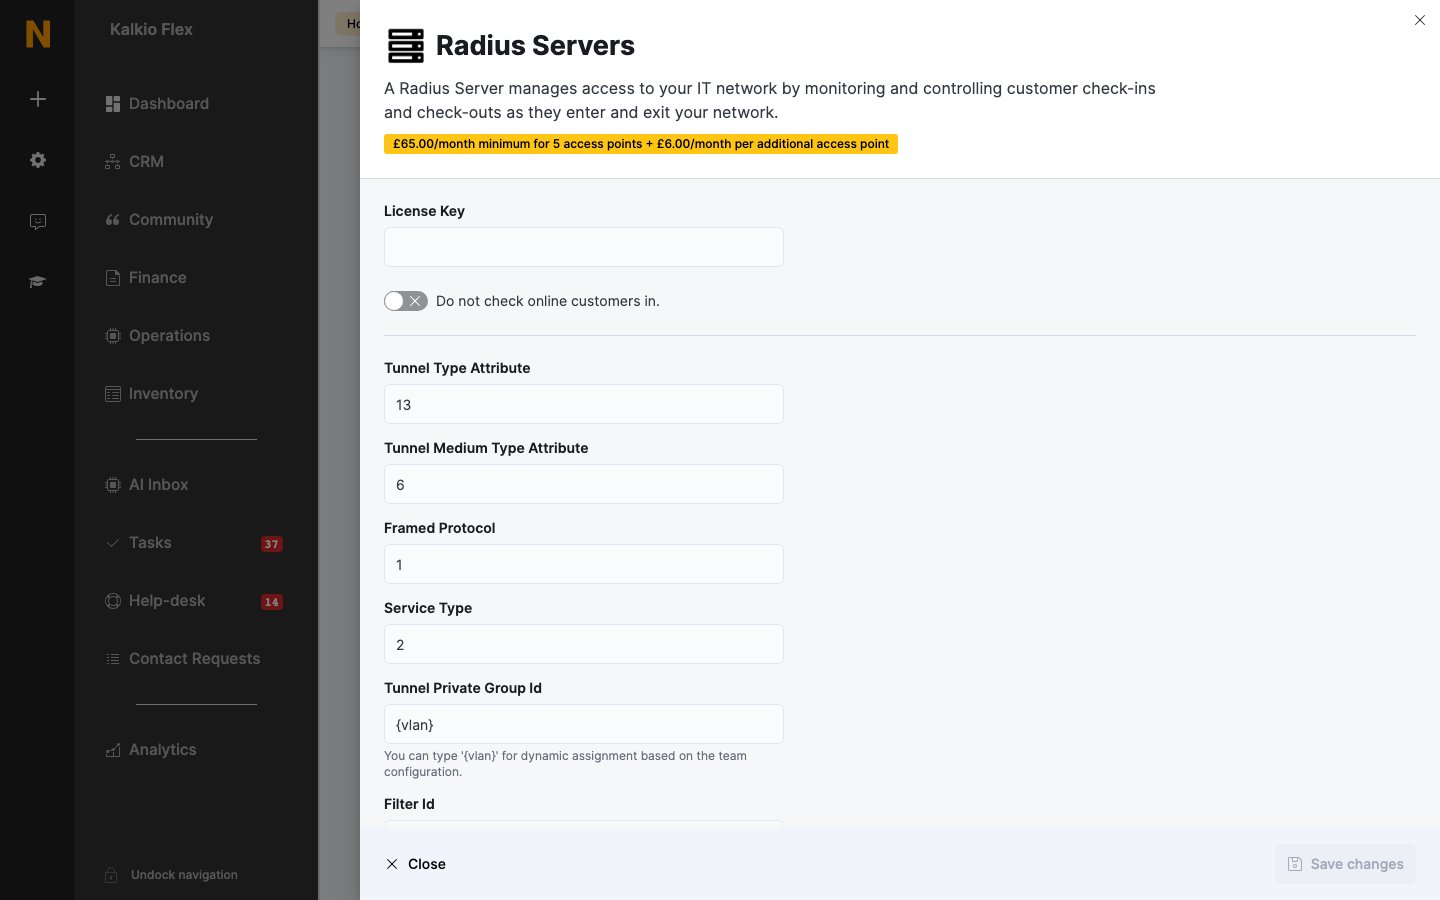
Once support issues your licence, go to Settings → Integrations → Radius Servers. Your License Key and RADIUS server appear there.
2
Configure your Wi-Fi controller
In the Radius servers list at the bottom of the settings, select Configuration sheet next to your server. It opens IronWiFi’s step-by-step instructions for your controller’s vendor. Follow them in your controller.
3
Turn on network access in your passes
On each pass that should include Wi-Fi, turn on Allow customers holding this pass to connect to your IT network. See Who can connect.
4
Test it
Sign in to your Wi-Fi as a customer with a valid pass and check you get online and appear as checked in.
Settings
Each server in the Radius servers list has a Name, Vendor, and Status (Active or not). Open a server to change its name or vendor.
A private network for each team
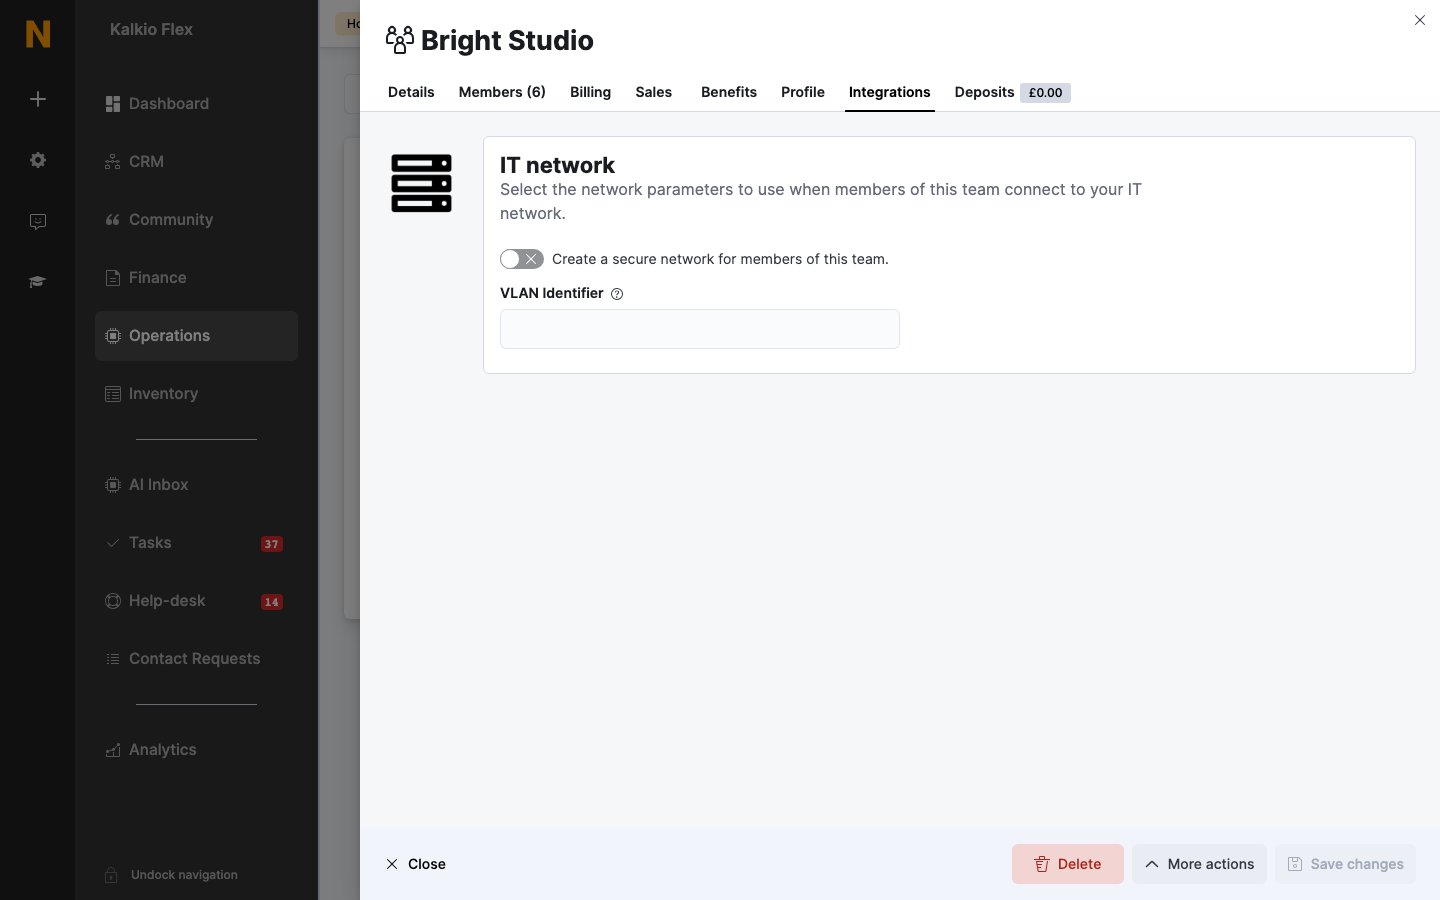
To put a company’s devices on their own network, open the team, go to its Integrations tab, and under IT network turn on Create a secure network for members of this team. and enter its VLAN Identifier. With{vlan} in Tunnel Private Group Id, team members are placed on that VLAN when they connect.
Customising the splash page
The splash page is what customers see before they get online, where they enter their email and PIN or a Wi-Fi access code. To change its design, ask Nexudus support for access to the IronWiFi console, then edit the Splash Page of your captive portal under Network → Captive Portals. Test it by signing in as a customer afterwards.Ruckus controllers
Ruckus controllers need some extra steps beyond the configuration sheet: a captive portal in IronWiFi using the Ruckus vendor, a WISPr (third-party captive portal) network in Ruckus pointing at your splash page, and a walled garden that lets customers reach your members portal (<your-web-address>.spaces.nexudus.com) before they sign in. Contact Nexudus support for the current addresses to add to the walled garden.
Related
- Wi-Fi — who can connect, check-ins, and troubleshooting
- Wi-Fi access codes — temporary Wi-Fi access for visitors
- Teams — company accounts and their settings