

Overview
Stripe Identity verifies your customers’ ID documents automatically, so you don’t have to check them yourself. Use it for virtual office customers who must provide proof of ID as part of onboarding, or request a check any time from the CRM. This page covers the admin panel side: connecting the integration, requesting checks, and reviewing results. Customers complete the document upload in the Members Portal — see Identity checks in the Members Portal.Connect Stripe Identity
Go to Settings → Integrations and, under Compliance:- Turn on Enable Stripe Identity.
- Enter your Stripe Publishable Key and Stripe Secret key.
- Choose which details to compare against the customer’s record.
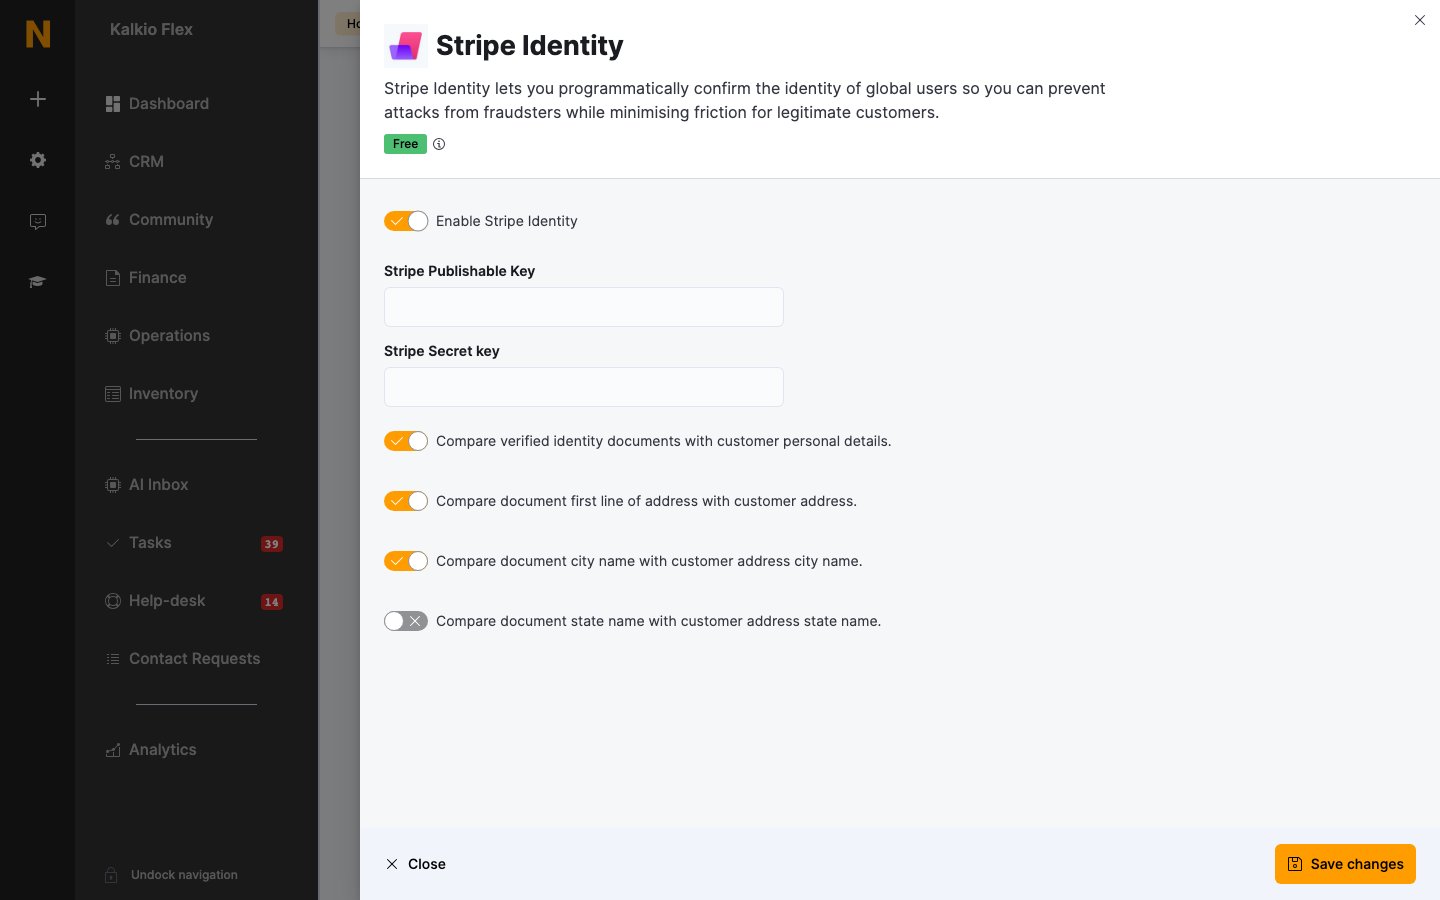
Check options
The three address comparisons only appear when the personal details comparison is turned on.
You can also turn Stripe Identity on for a specific virtual office plan — see Onboarding and compliance.
Request an identity check
From CRM → Identity checks, select Request identity check and fill in the form:
When you choose Stripe Identity, the customer uploads their document in the Members Portal and Stripe verifies it. If the integration isn’t connected, the form shows a warning.
Review identity checks
Go to CRM → Identity checks to see every check, or open a customer’s contract and go to Identity checks.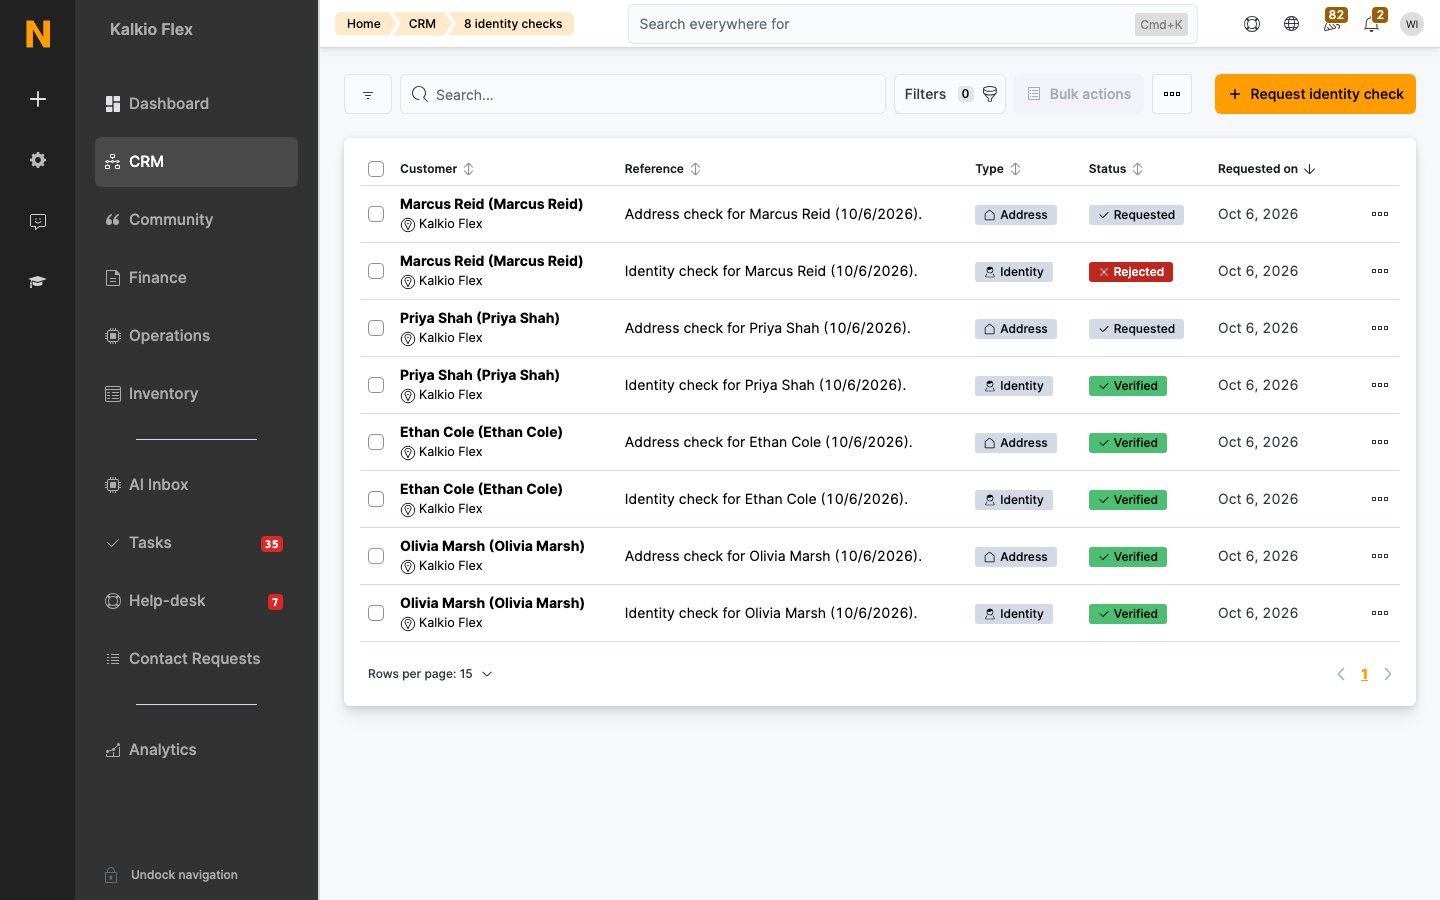
- Open the check and look at the uploaded documents. If the customer’s address is outside your location’s country, you see a Country mismatch warning.
- Select Mark as verified, or Mark as rejected and add Rejection notes to tell the customer why.
Related
- Compliance integrations — connect Stripe Identity, OpenSanctions and Pappers
- Onboarding and compliance — set checks on a plan and review AML screening
- Identity checks in the Members Portal — what customers see when they upload documents