

Overview
Tickets are how customers register for your events. Each event can have multiple ticket types, each with its own name, price, and availability window. Tickets can be paid or free (zero price) — even free events should carry a zero-cost ticket so attendance is tracked and guests receive confirmation emails.How to access
Open an event from Community → Events and go to the Tickets tab. Each row shows the Ticket name, its From / To availability dates, Price, Allocation (or Unlimited), and Sales — for example 4 sales of 50 — plus badges when the ticket is restricted to certain customers. Use the Add ticket button to create one. Tickets only appear once the event has been saved.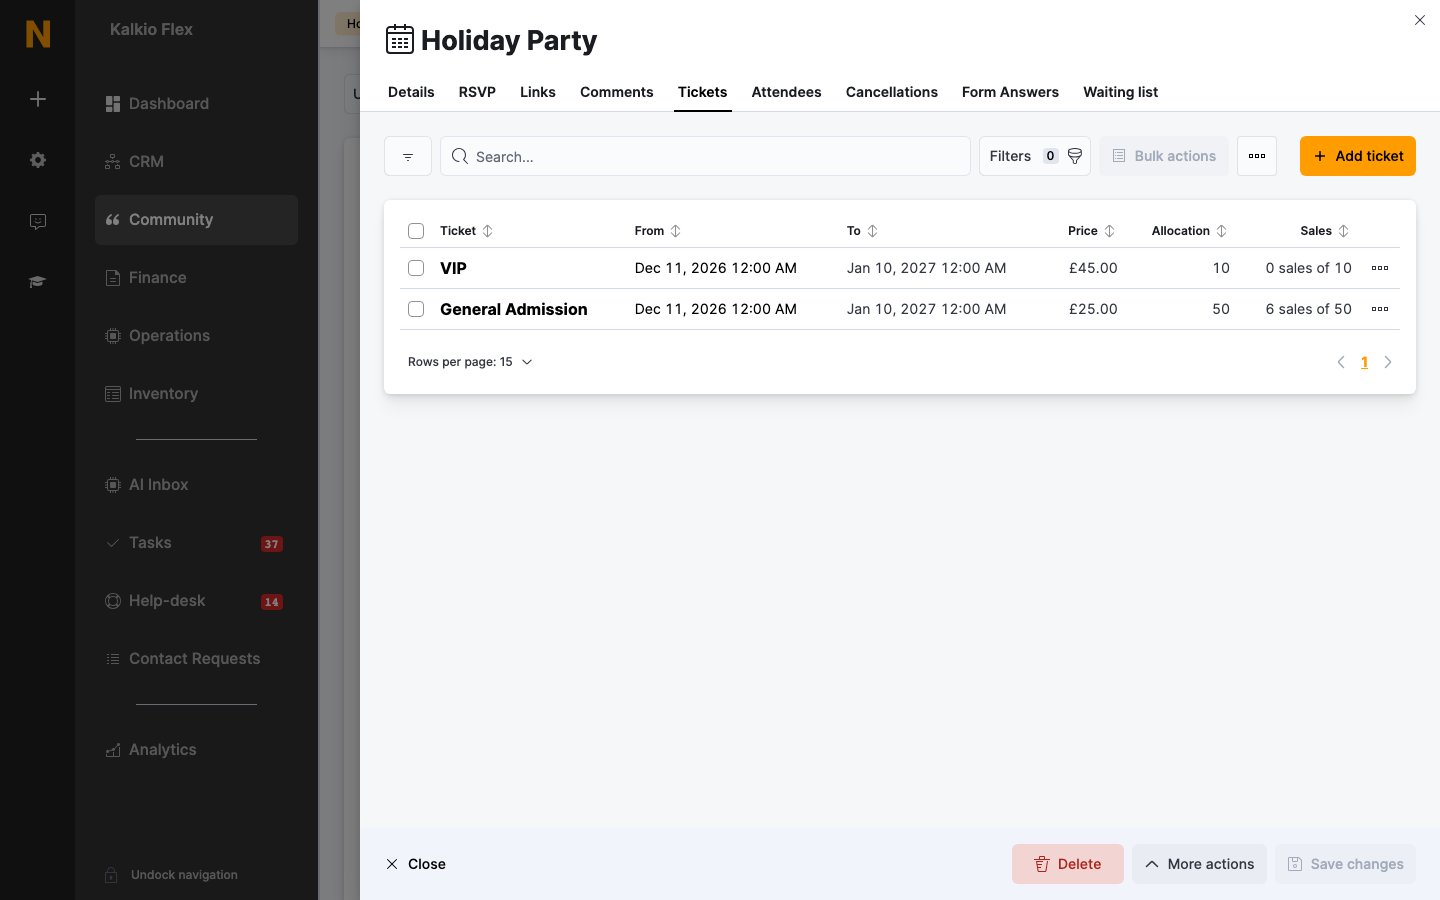
Adding a ticket
1
Describe it
Click Add ticket, then set the Ticket name, an optional Ticket description (shown with the ticket on the portal and app), and Ticket notes (included in the confirmation message sent to anyone getting this ticket). Use The position to display this ticket at to order tickets when an event has several.
2
Price it
Set a Unit price — or leave it at 0 for a free ticket. Assign a Tax rate and Financial account where your invoicing settings require them. For each paid ticket sold, a small fixed fee plus 1% of the ticket price is added to your Nexudus monthly bill (the exact amount is shown in the Heads up! callout). Free tickets aren’t charged.
3
Set availability
On the Availability tab, set the ticket’s Event capacity (leave it unlimited to sell up to the event’s overall capacity), Tickets per attendee, who This ticket is available to:, and the Available from / to dates. New tickets default to being on sale from the event’s publish date until it starts.
4
Publish it
Back on the Details tab, tick Let customers buy this ticket from the portal and the app. and save. Leave it unticked for tickets you only assign manually.
Free events
Free events should still carry a zero-cost ticket rather than having none at all — every registrant then holds a ticket you can count, and guests receive a confirmation email. Simply set the ticket’s unit price to 0.Capacity and wait list
Each ticket can cap how many units are available and how many a single customer can buy, within the event’s overall capacity set on the RSVP tab. Open a ticket to see its own Attendees and Cancellations tabs. When tickets sell out, customers can join the event’s wait list (if enabled in the event’s publishing settings) and are notified as spots free up. See Event attendees for managing the waiting list.RSVP options
The event’s RSVP tab controls overall capacity and sign-up behaviour:- Event capacity — limit the event to a number of attendees, or leave it unlimited.
- Ask customers buying a ticket for this event to provide their postal address.
- List attendee details on the events page. — shows attendees with a public profile on the portal.
- Tickets notes — extra notes sent to customers signing up.
The postal address and attendee list options aren’t shown for locations using Members Portal V5.
Related
- Events — creating and publishing events
- Event attendees — registrations, cancellations, and the waiting list
- Event checkout — the ticket purchase flow
- Events and ticketing settings — module and checkout configuration