

Overview
Beyond its details and prices, each resource has tabs for the extras that make it easier to choose and book: the Features customers filter by, Products they can add to a booking, the Units inside it, and Integrations with Zoom, NexBoard and calendars.Features
The Features tab lists what the resource offers. Everything you turn on is shown as an icon when customers book, and customers can filter resources by feature.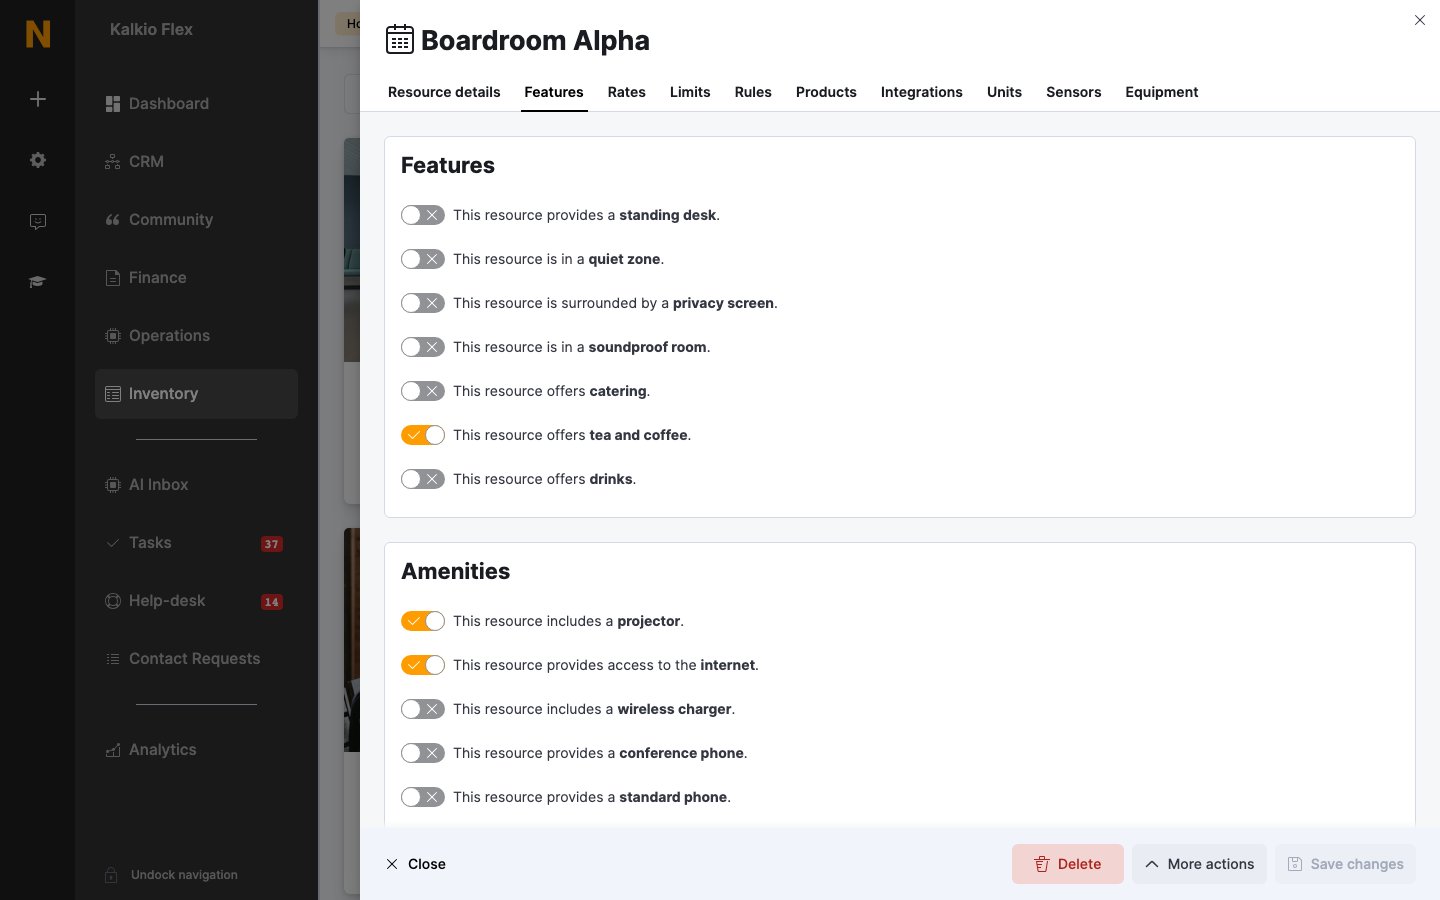
Sell products with bookings
Link products to a resource to offer them as add-ons when customers book it, such as catering, AV equipment or room setup. Admins can add the same products to bookings from the dashboard.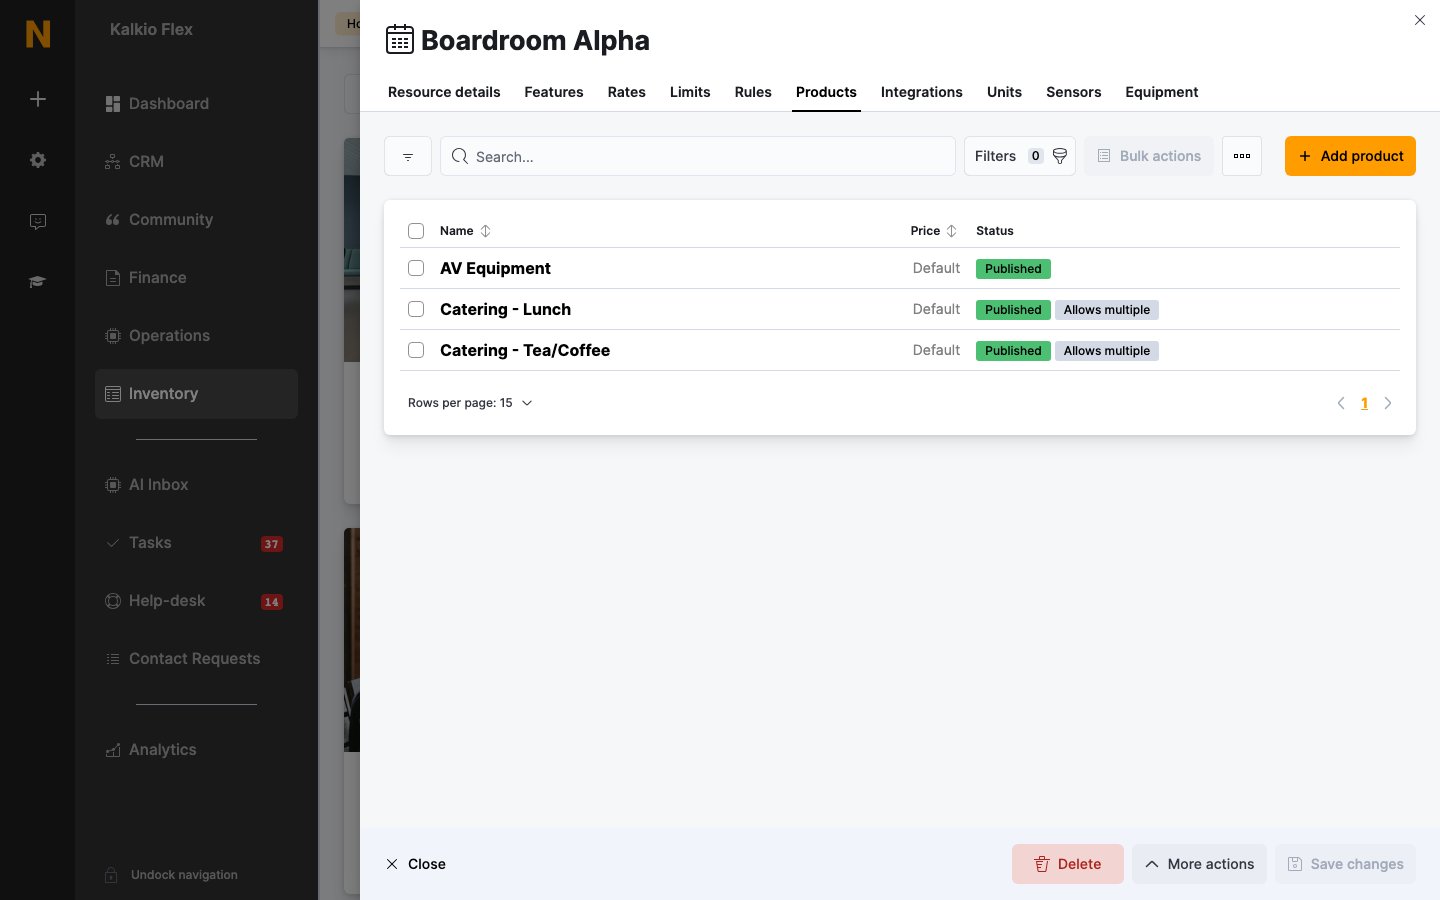
- Let customers buy this product as part of the bookings they request online or via the app
- Let customers request more than one item of this product when placing a booking — shown as Allows multiple in the list
- Charge this product based on the length of the booking it is added to — works best with hourly rates
Units
The Units tab lists the individual units inside a resource, such as desks in a hot-desk bank or bays in a car park. Units come from your floor plans, so customers can pick a specific desk or bay.Adding units overrides Simultaneous bookings on the Limits tab: the resource can then be booked once at a time for each unit.
Combined resources
Combined resources let you sell spaces that can be joined, such as two meeting rooms with a folding wall. Create three resources — Room 1, Room 2 and Room 1+2 — then on Room 1+2 go to Limits → Combined resources and select the rooms it locks under This resource locks other resources when booked. Booking one blocks the others at the same time. The combined resource has its own prices; Nexudus doesn’t add up the prices of the rooms it combines. If a locked resource has units, all its units are blocked.Booking check-in
You can require customers to check in to their bookings. Go to Settings → Features → Bookings and calendar settings and turn on Require attendees to check in using NexBoard and cancel bookings if they don’t do so in the first 15 minutes of a booking. Bookings that haven’t been invoiced are cancelled if nobody checks in. Customers check in on the NexBoard screen beside the room. Admins can start a booking for a customer from the booking itself.Checking in to a booking is separate from checking in to your location. See Check-ins.
Integrations
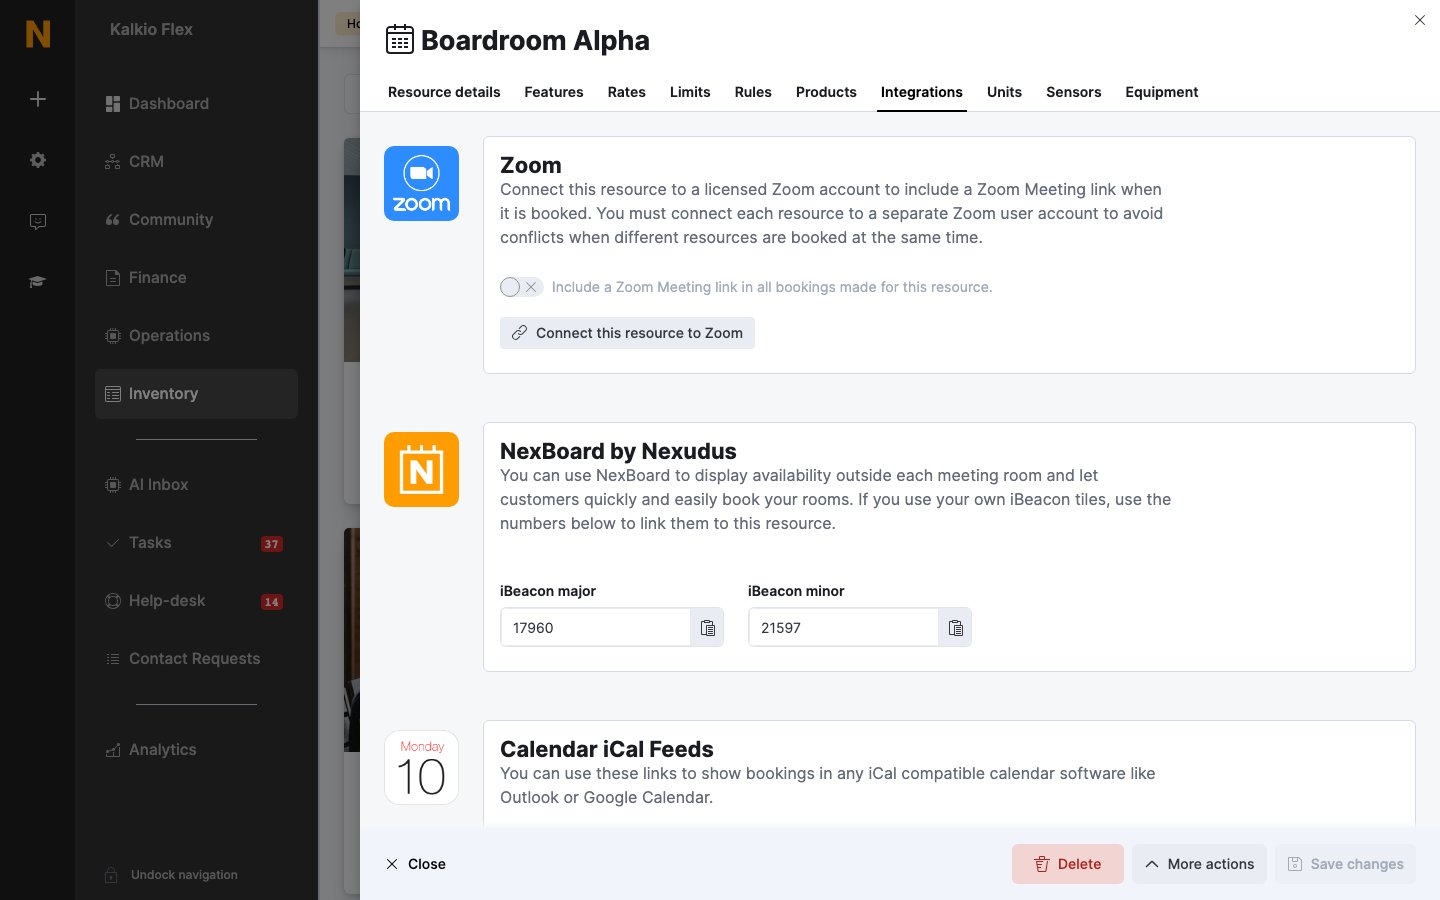
The Integrations tab connects the resource to other services:- Zoom — Connect this resource to Zoom and turn on Include a Zoom Meeting link in all bookings made for this resource. Each booking then gets a meeting link in its confirmation email. Connect each resource to a separate Zoom user, so simultaneous bookings don’t clash.
- NexBoard by Nexudus — the iBeacon major and iBeacon minor numbers that link NexBoard screens and iBeacon tiles to this room.
- Calendar iCal Feeds — feed links you can subscribe to in Outlook or Google Calendar: This resource or All resources, with or without member details.
Related
- Resources — setting up resources
- Products — creating the products you sell with bookings
- Floor plans — units and desks